如何使用「大量更新圖片」從下載、修改並完成更新的流程?
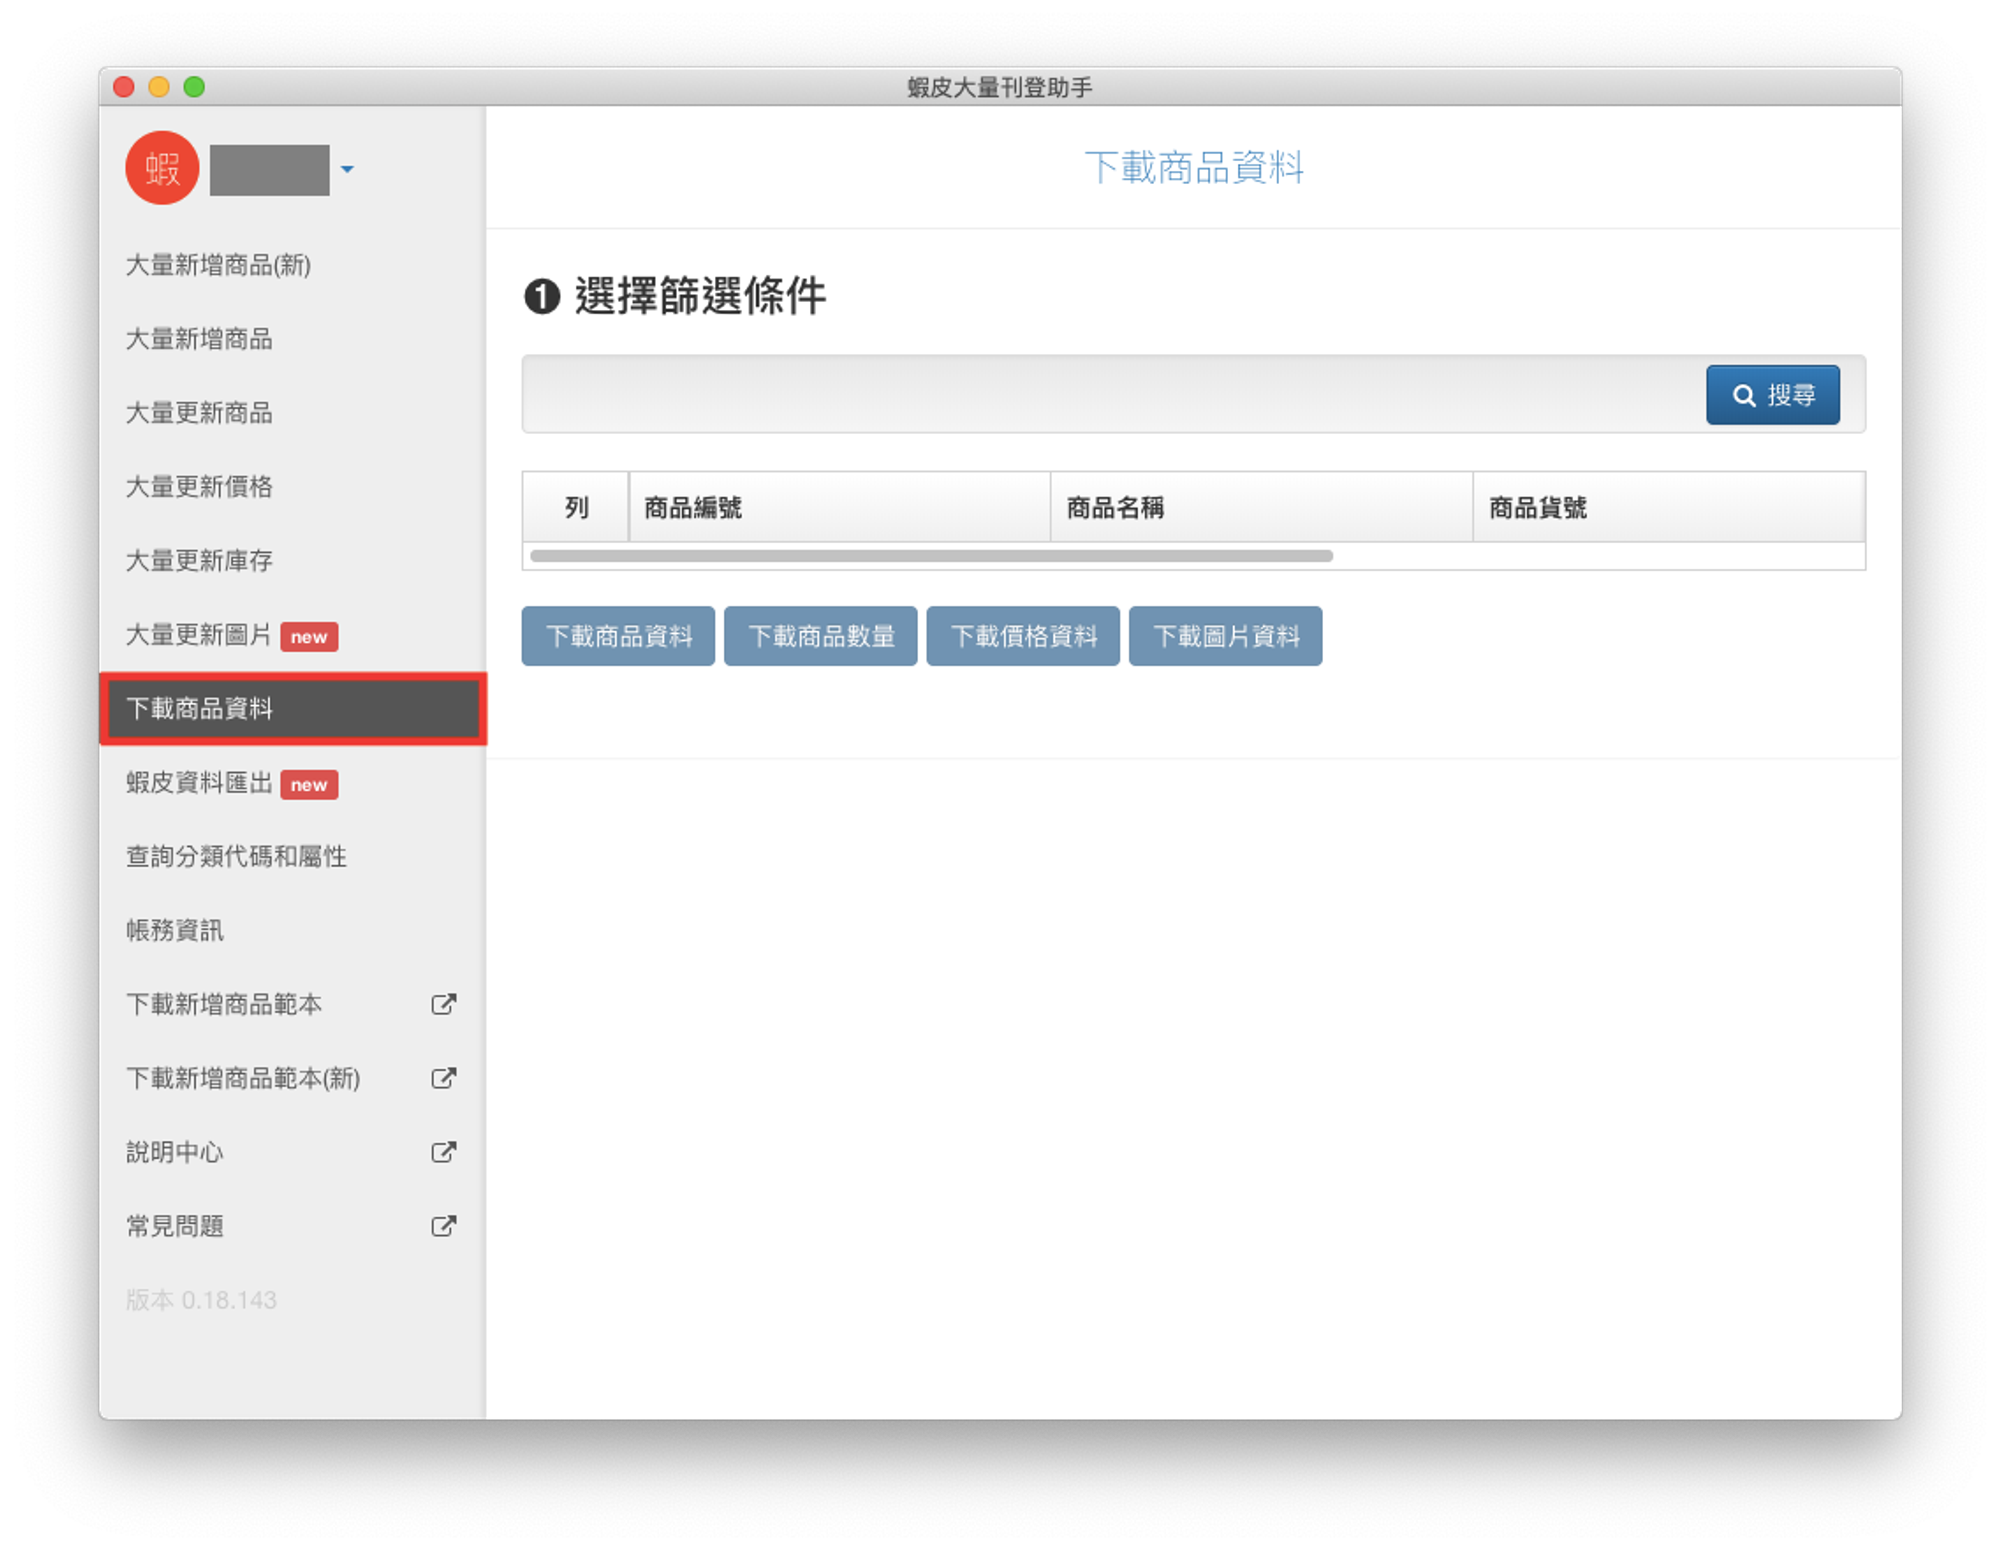
- 於左側導覽點選「下載商品資料」。
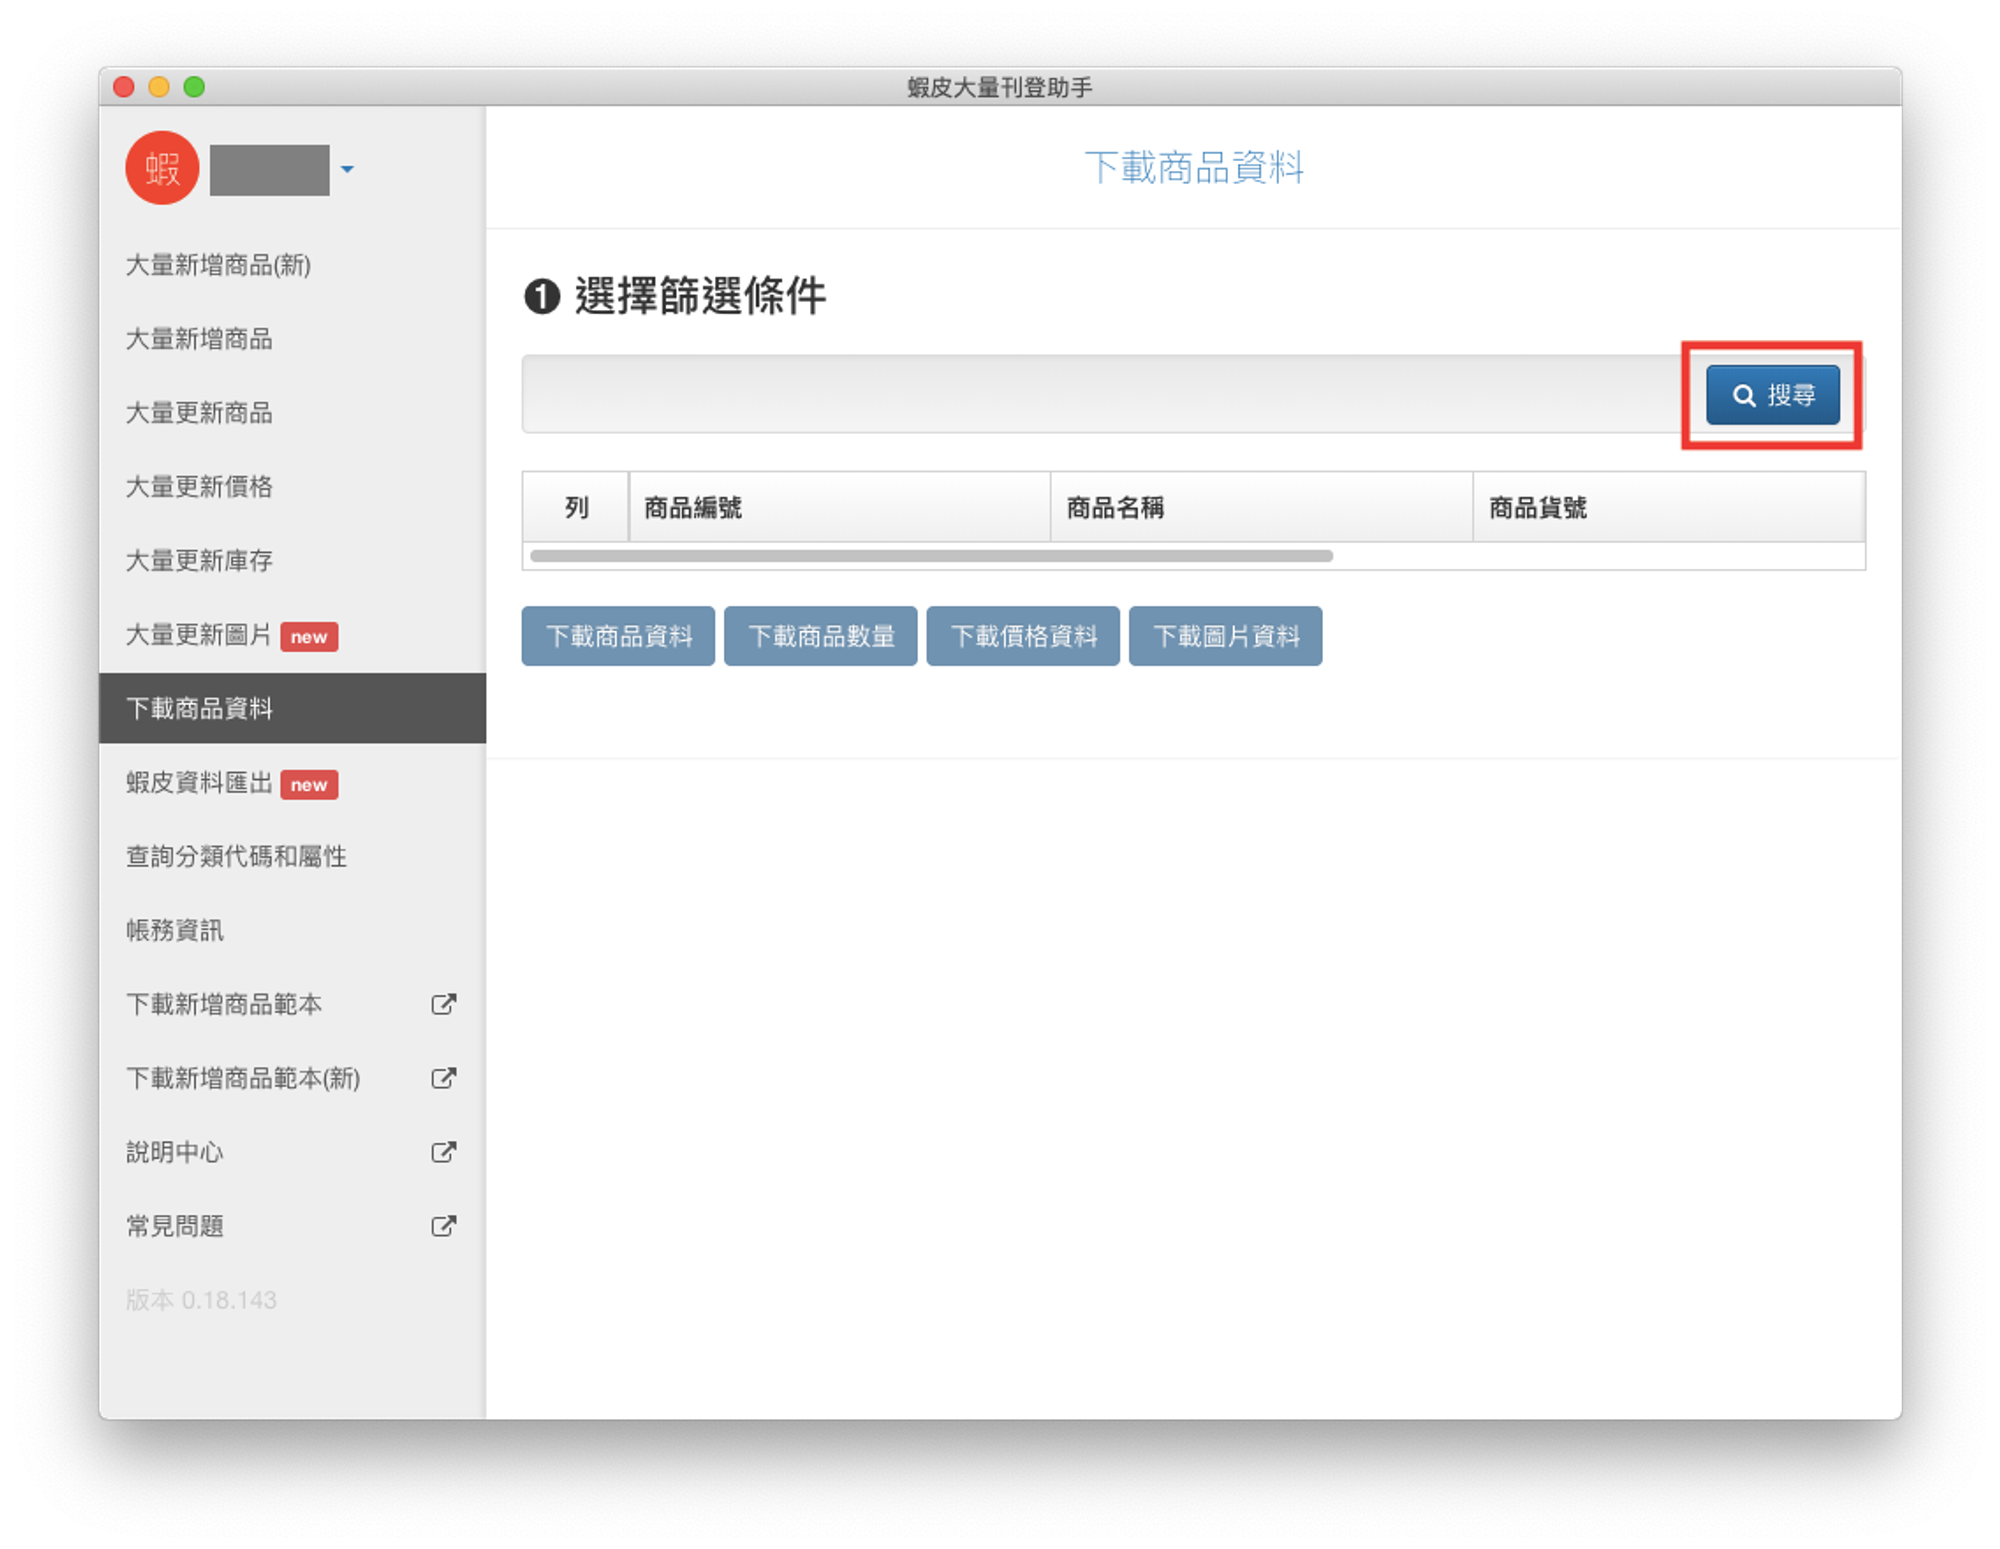
- 點選「搜尋」。
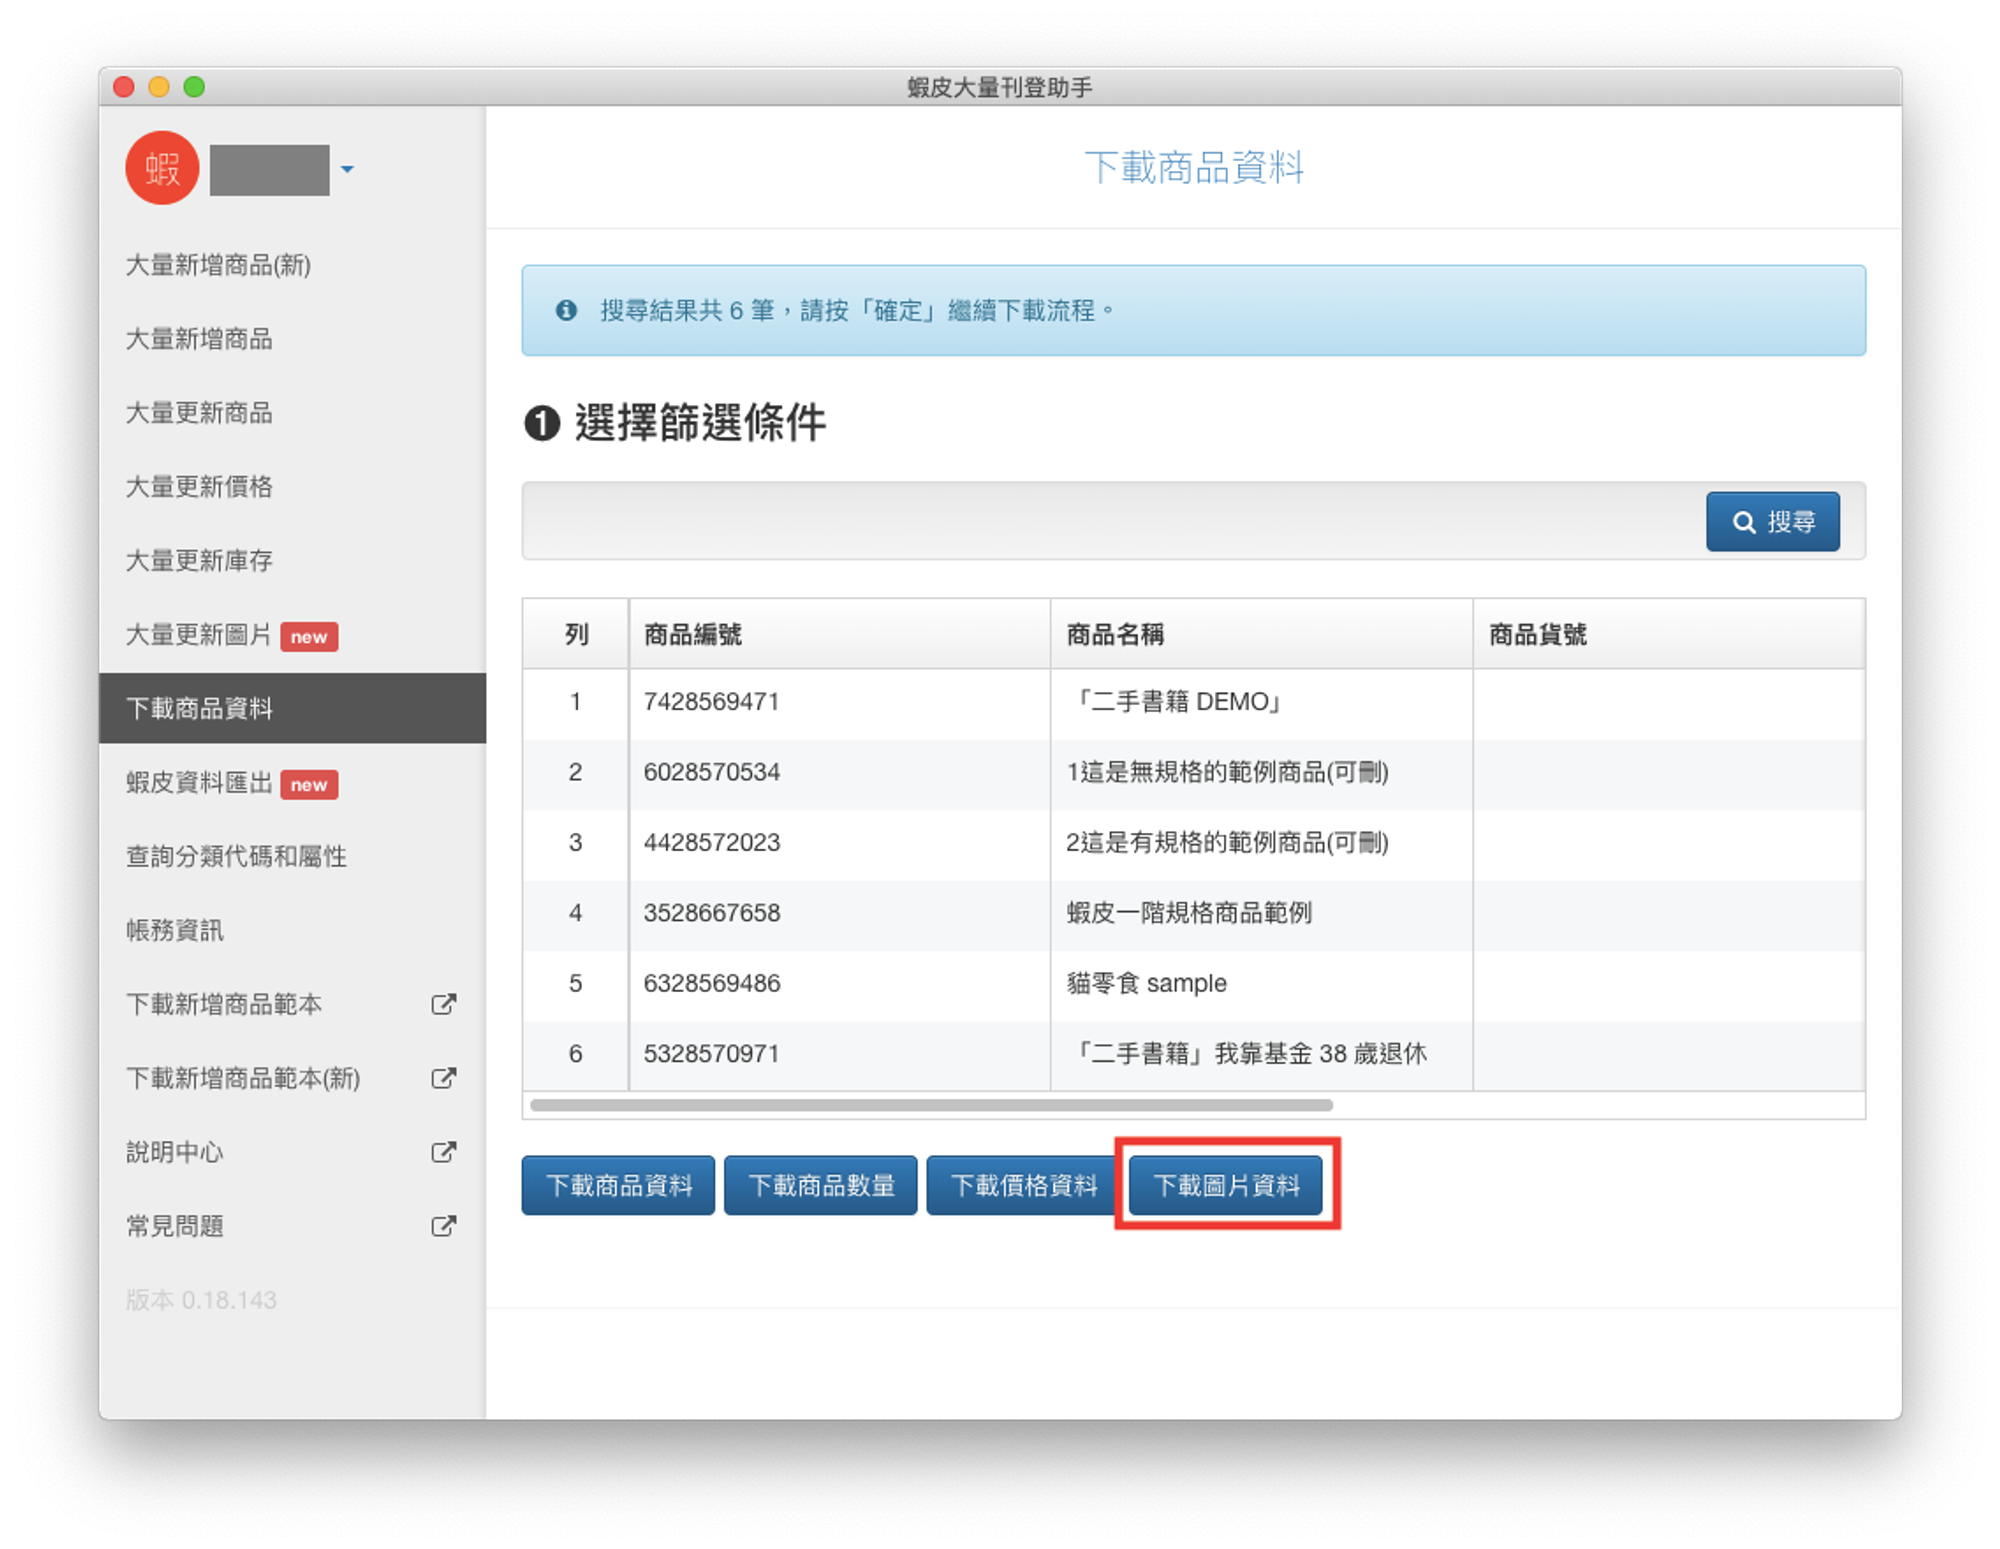
- 確認搜尋結果,並點選「下載圖片資料」。
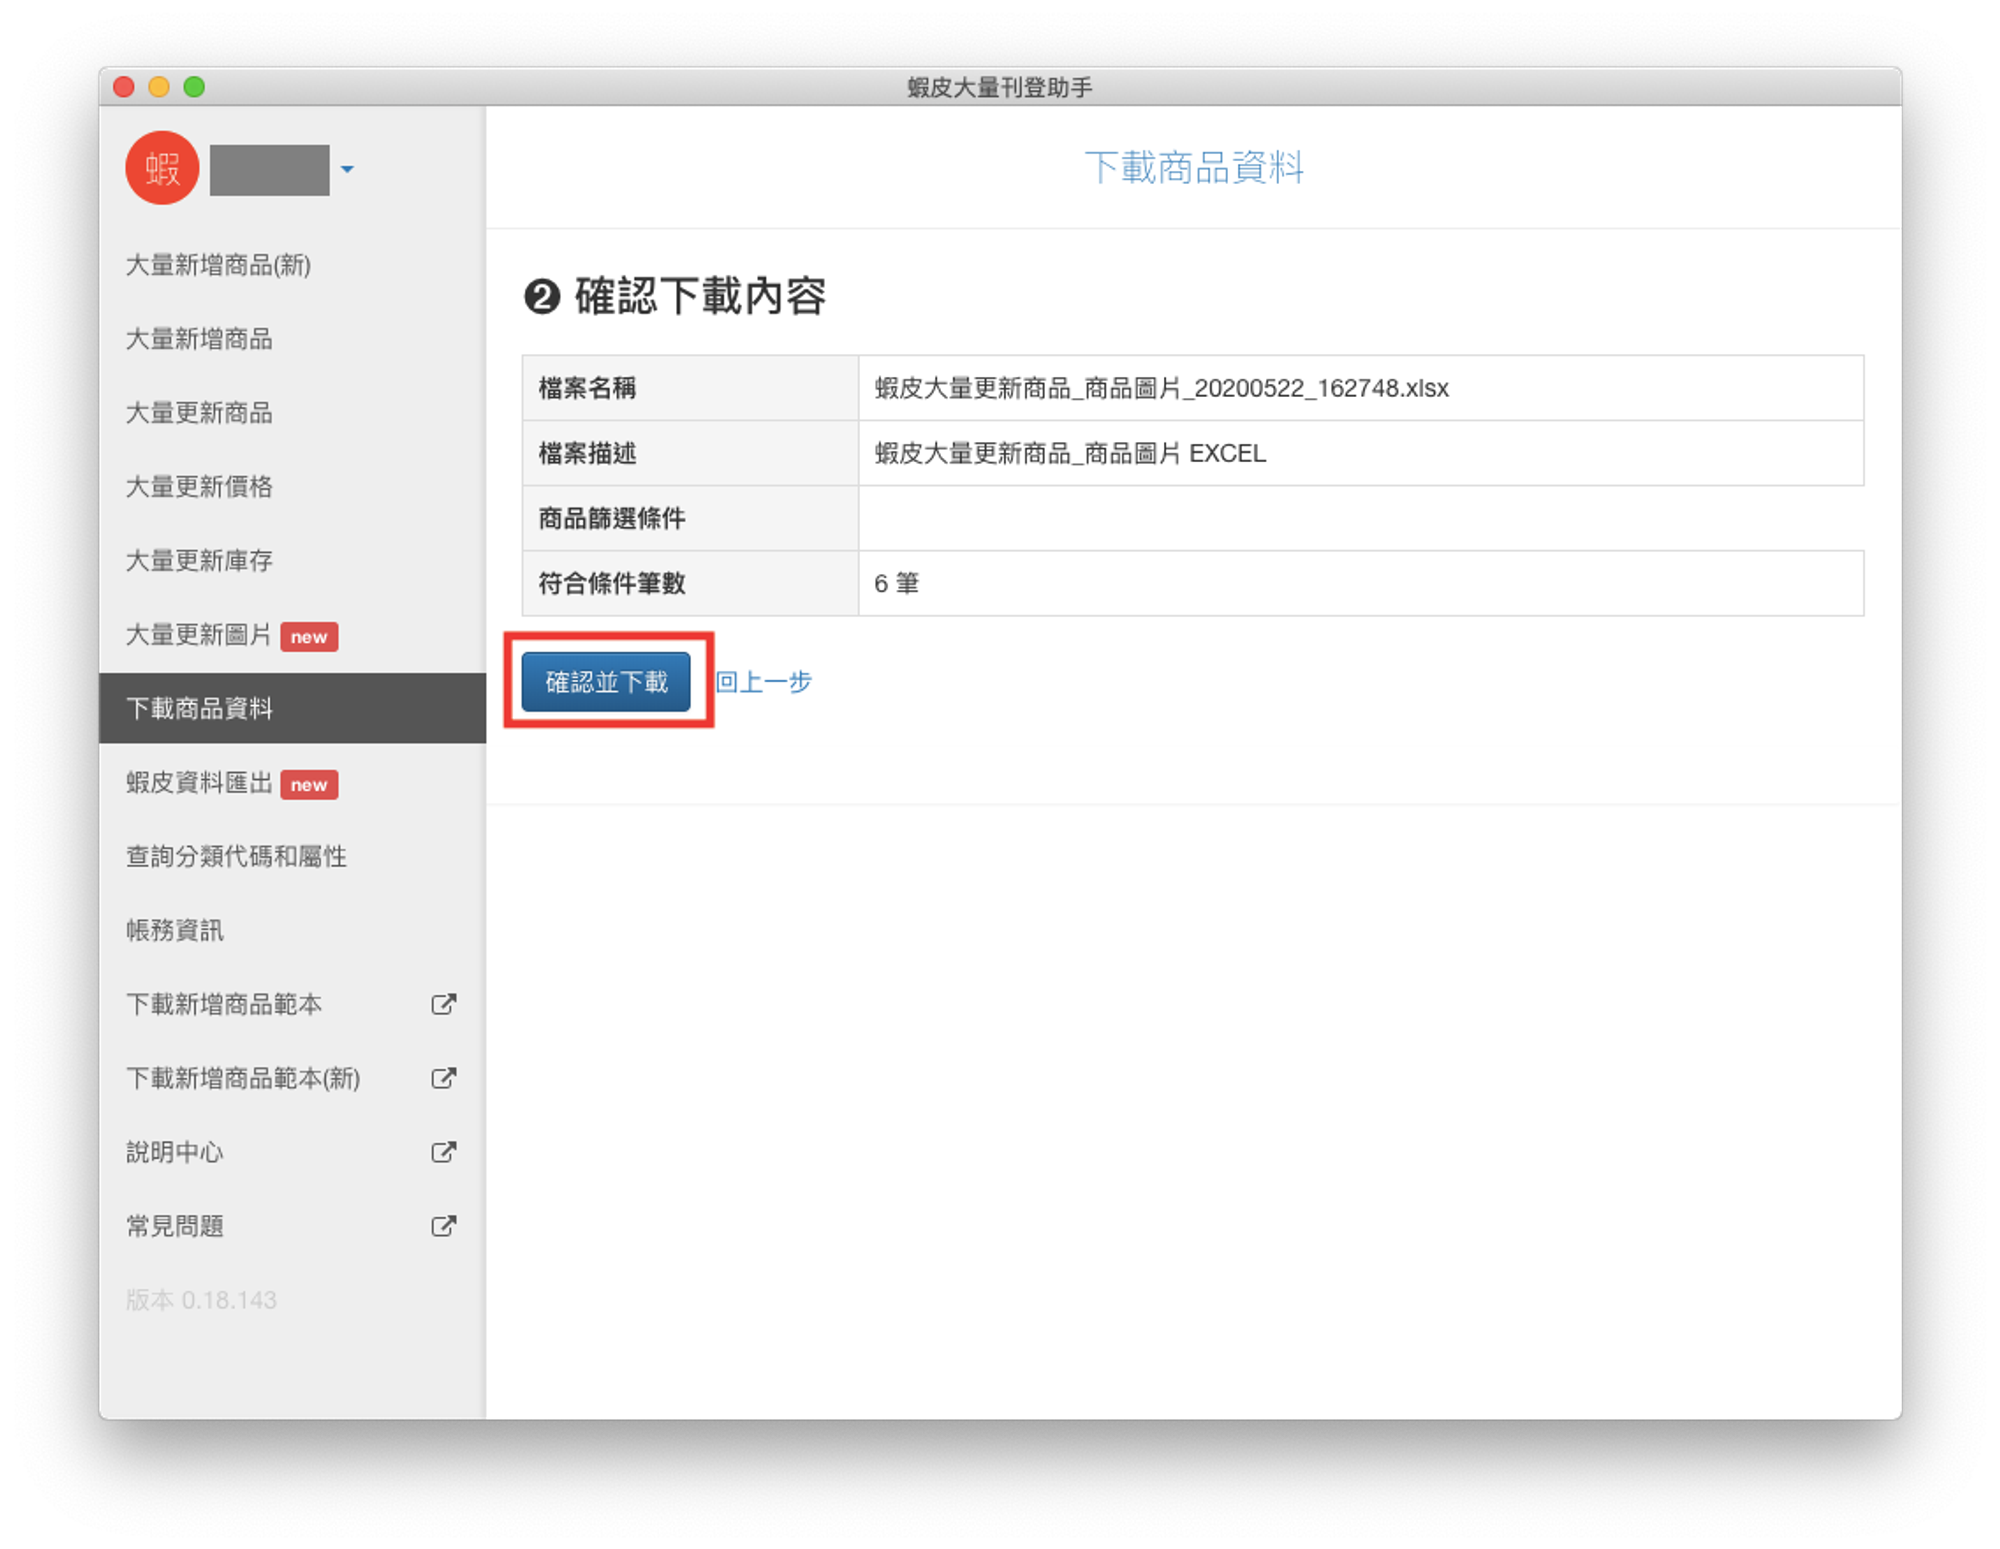
- 再次確認是否執行,如果是,點選「確認並下載」。
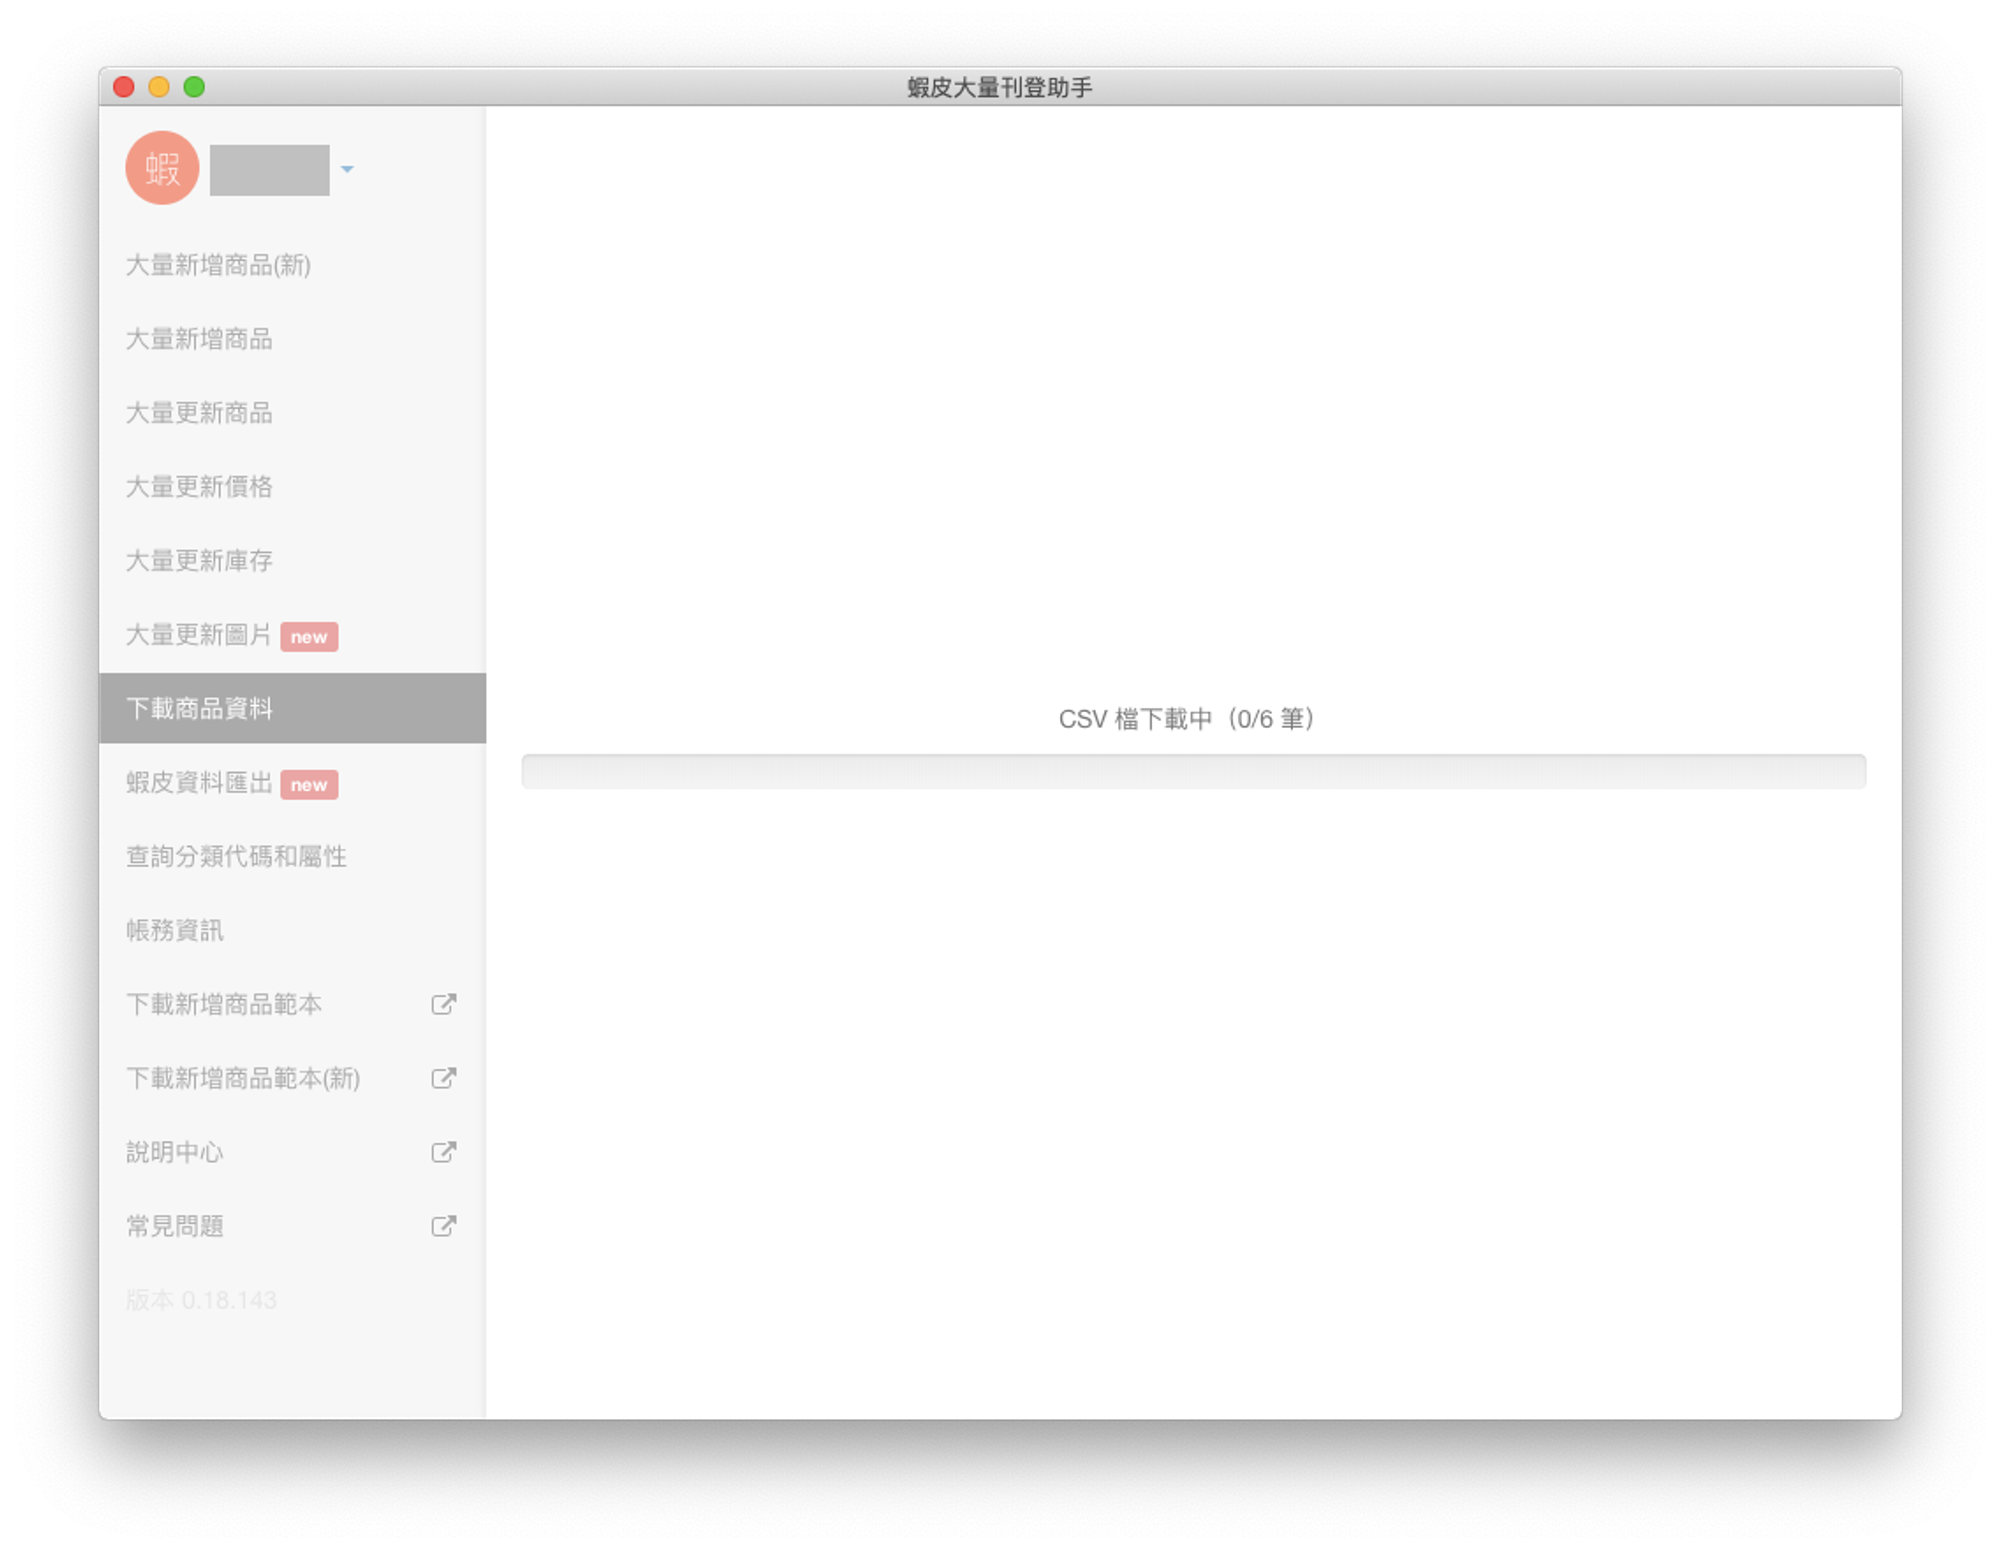
- 等待下載作業完成。(注意:下載進度全數完成前請勿關閉程式!)
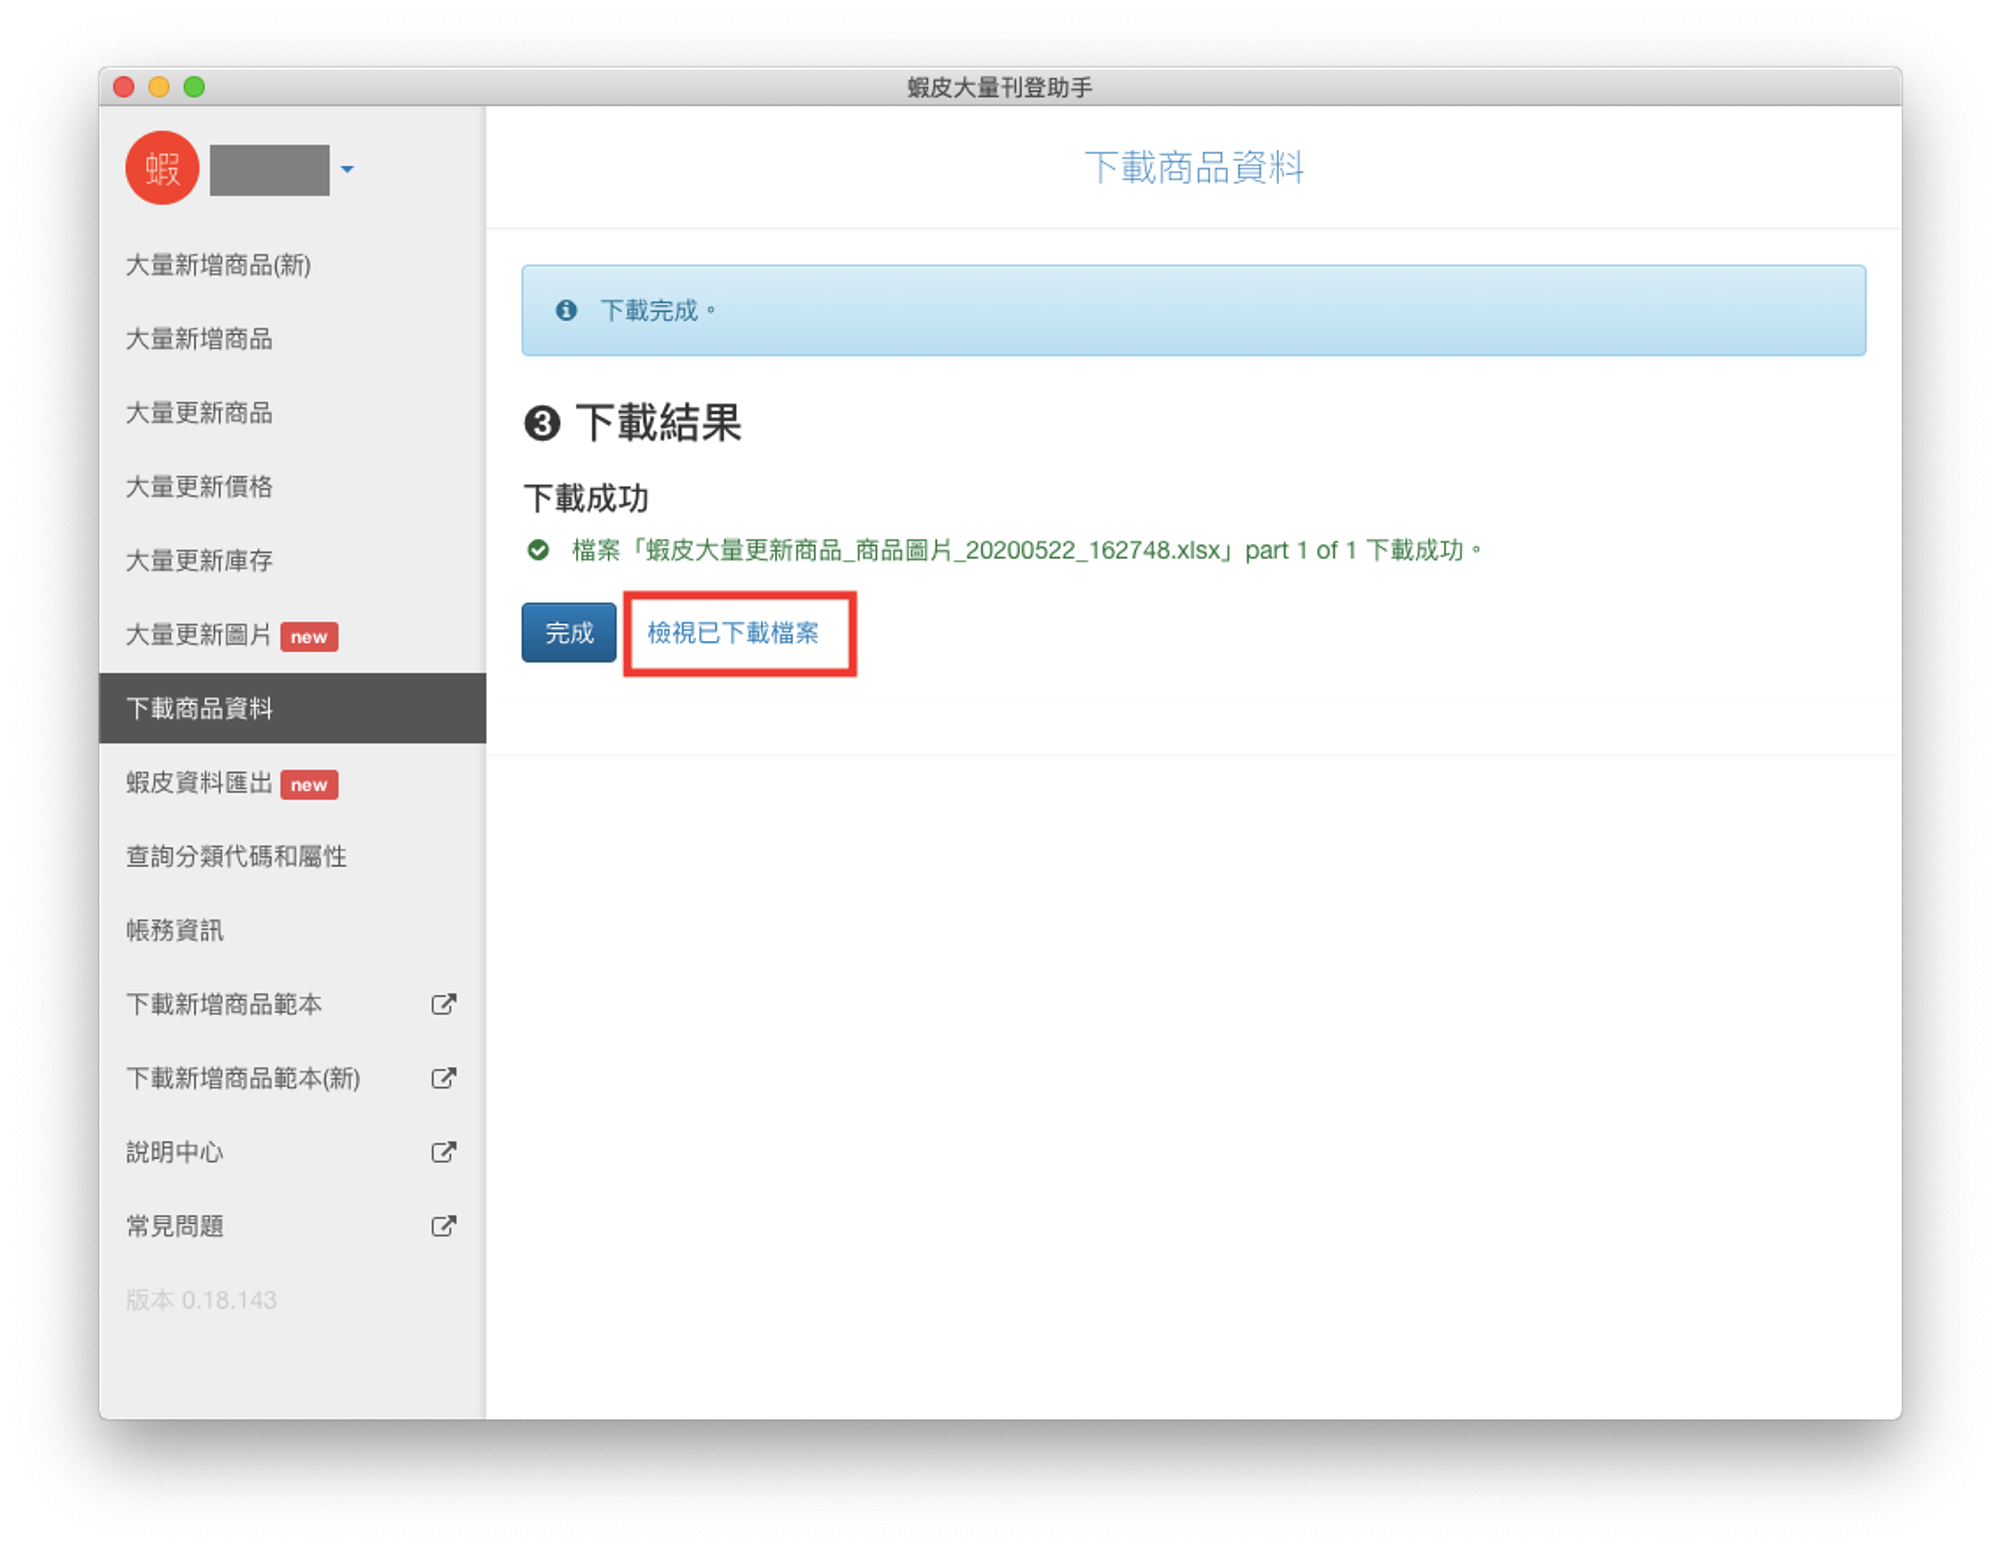
- 查看下載結果,如正確無誤。並點選「檢視已下載檔案」,叫出【檔案總管】/【Finder】。
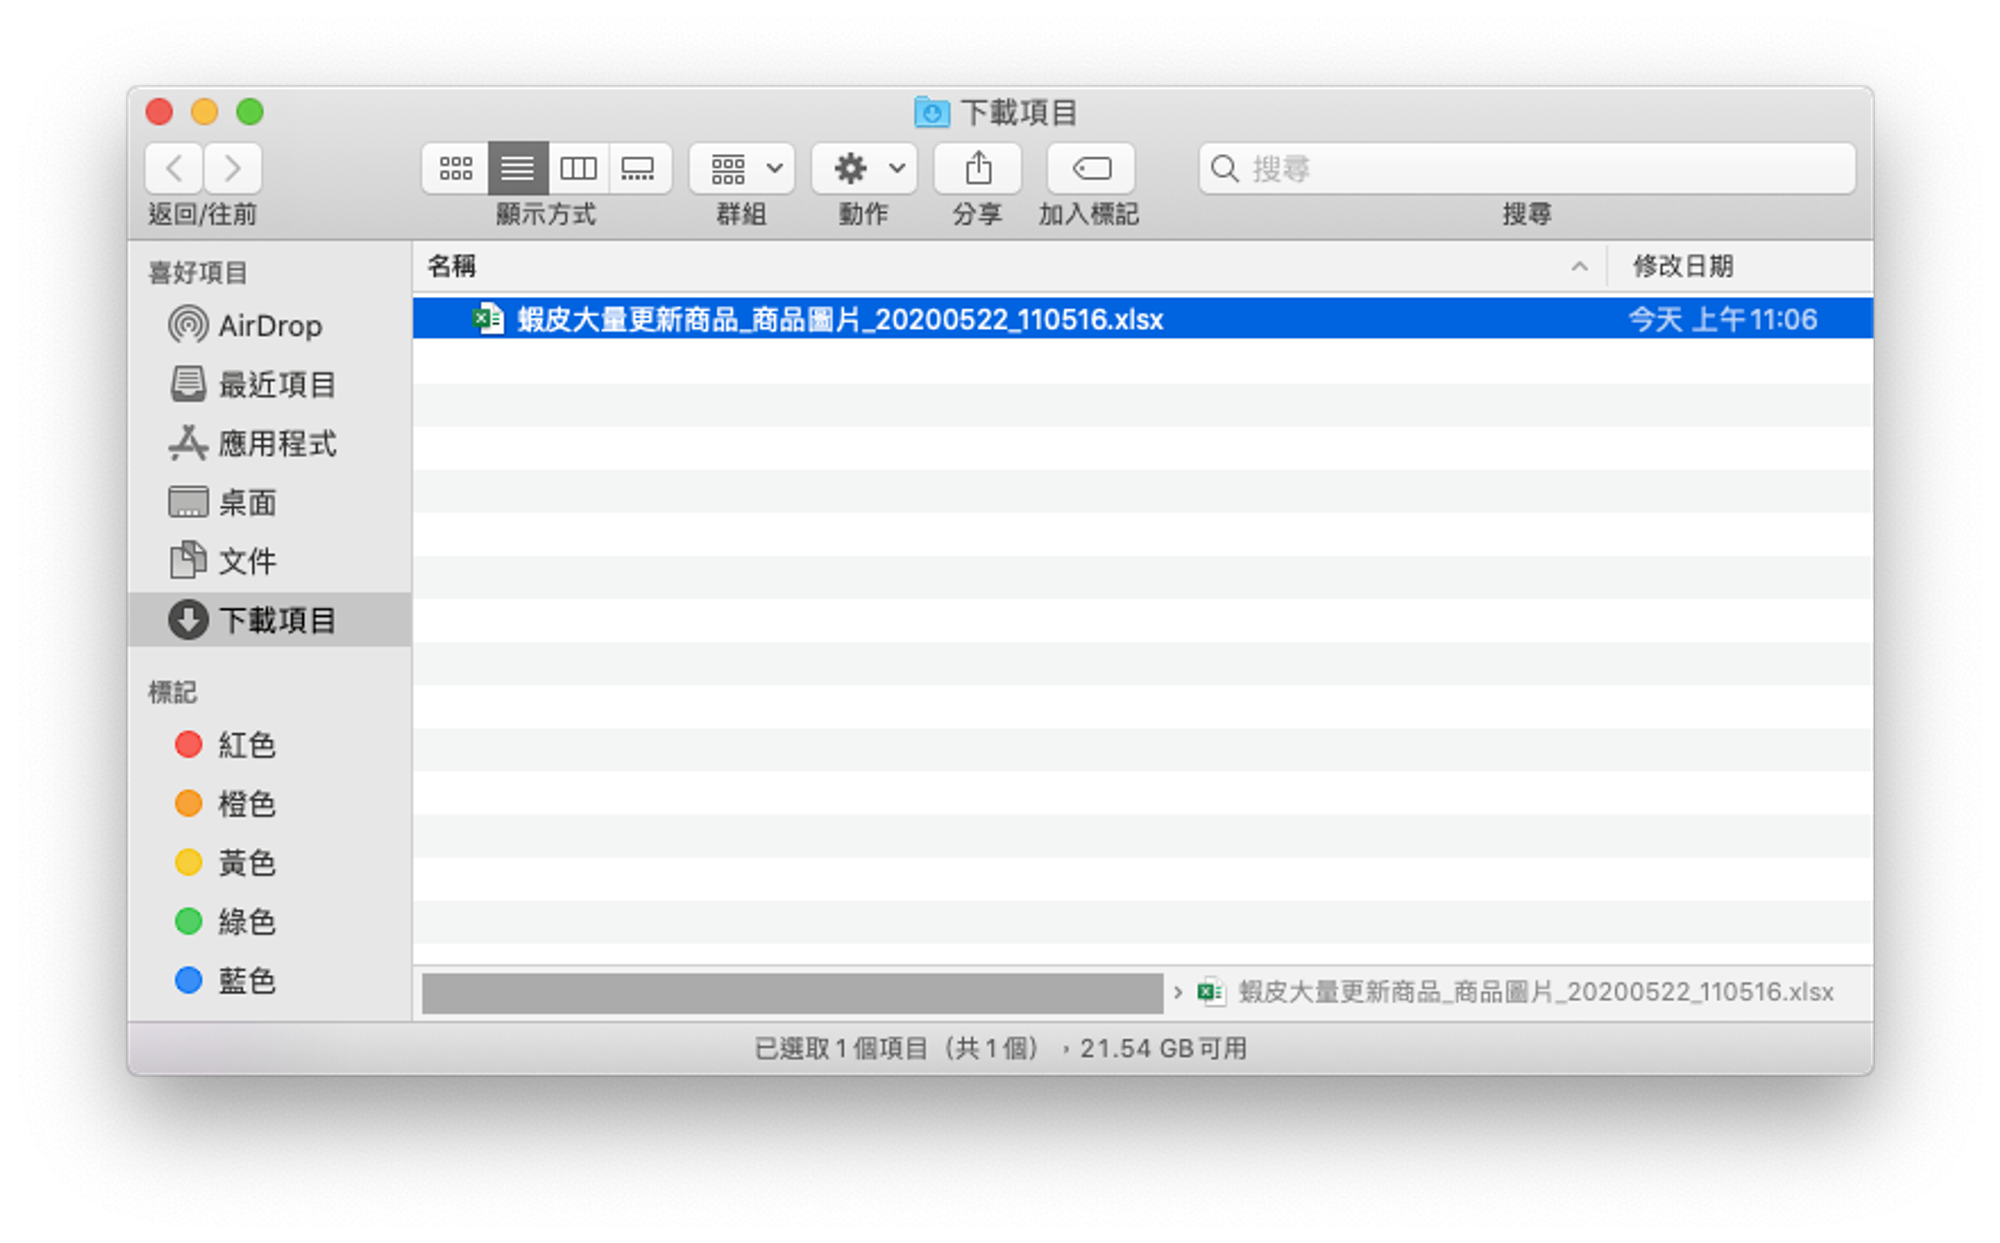
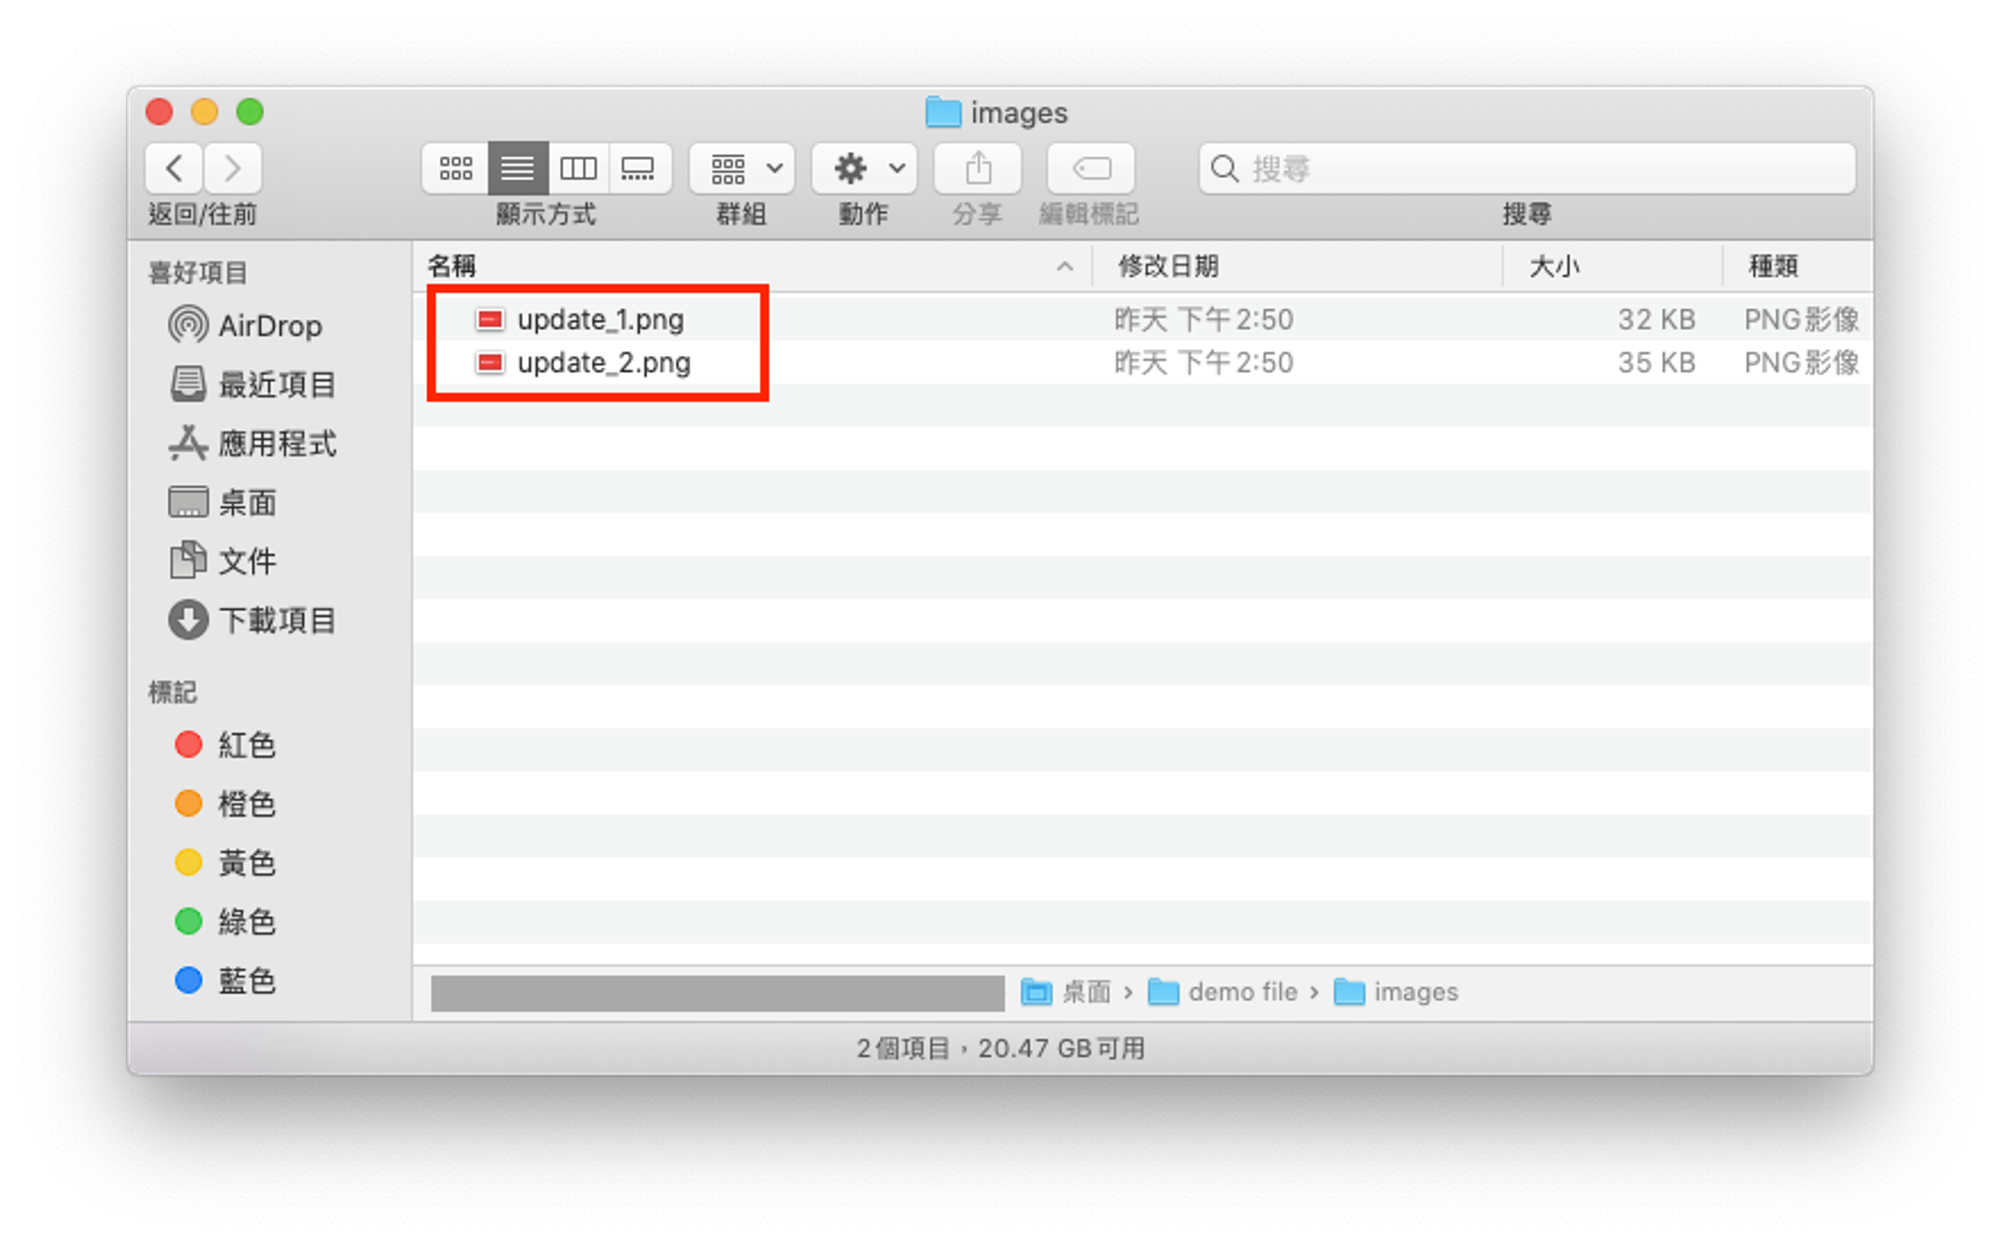
- 檢視剛下載之檔案
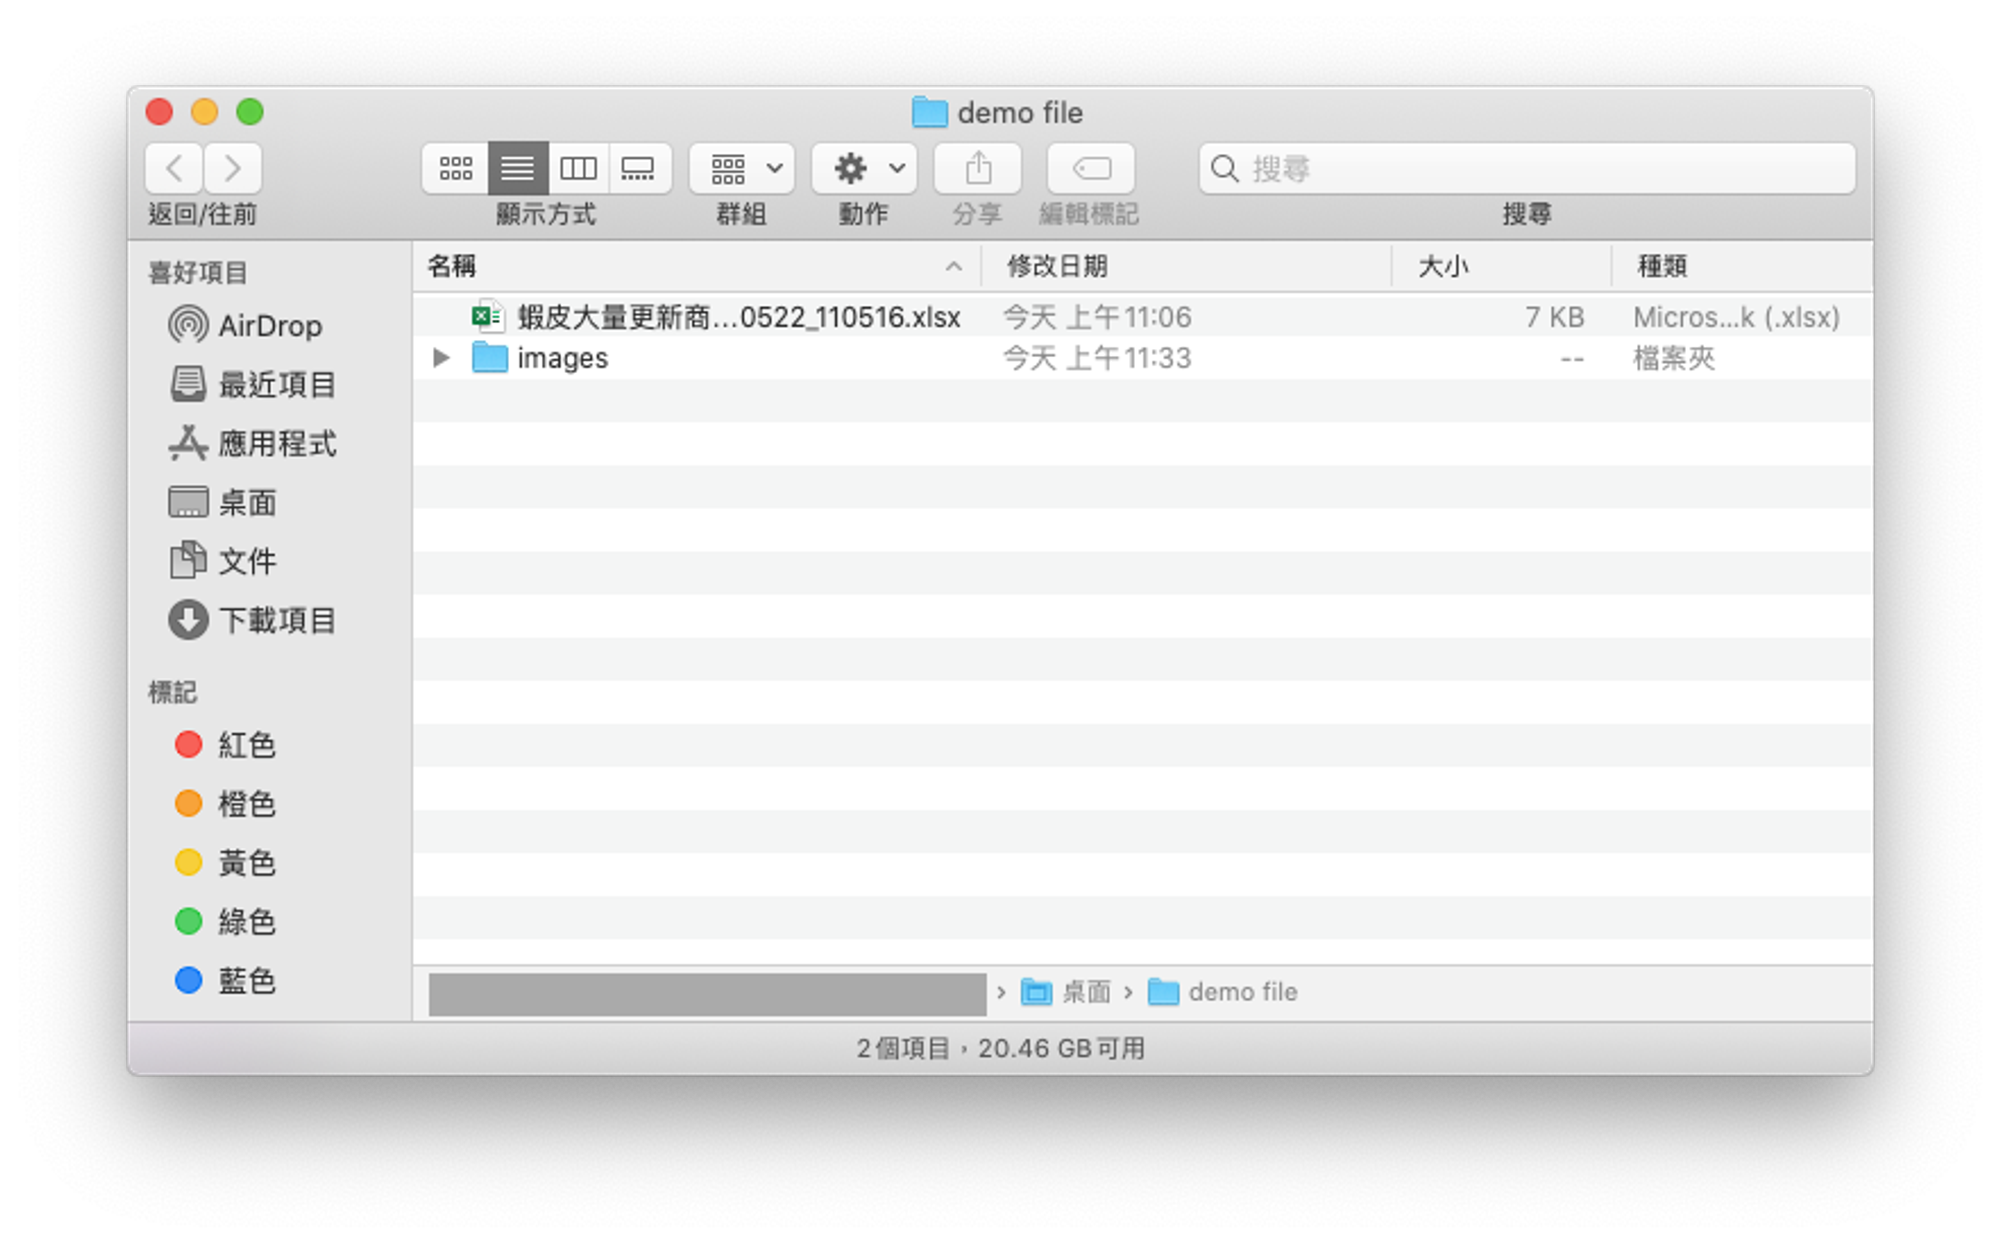
- 新增一資料夾存放剛下載的檔案與存放待更新圖片的圖片資料夾(images)。
- 圖片資料夾內的待更新圖片。
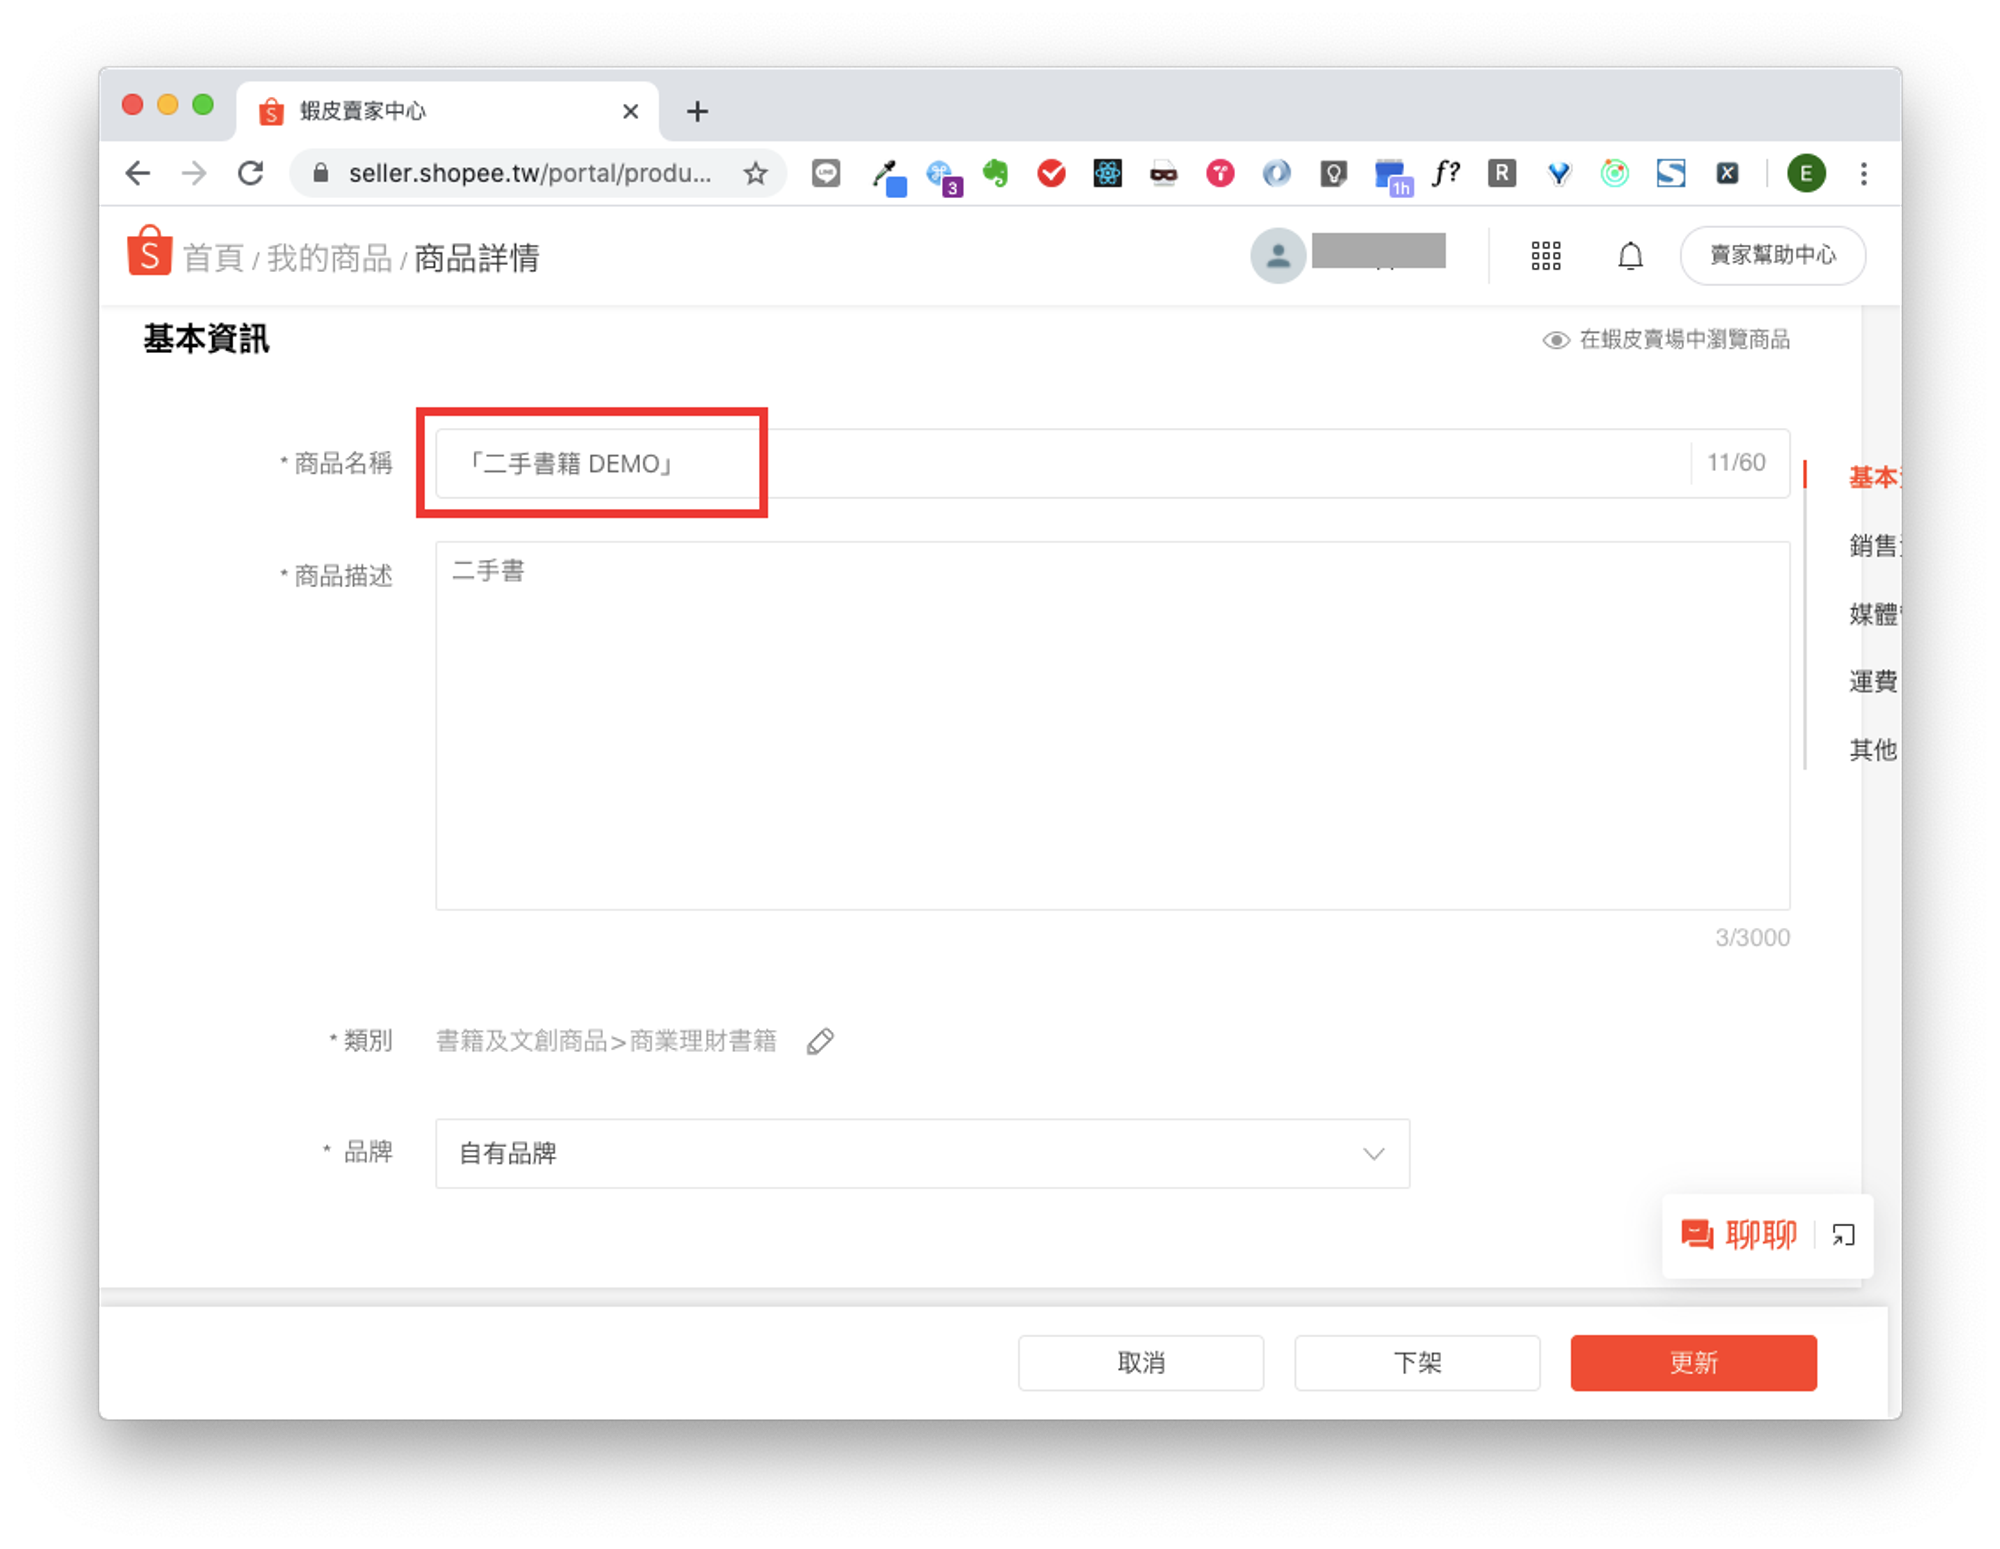
- 在更新圖片前可以先到蝦皮的「商品詳情頁」確認待更新商品的原始圖片為何。這裡待更新的商品名稱為「二手書籍 DEMO」。
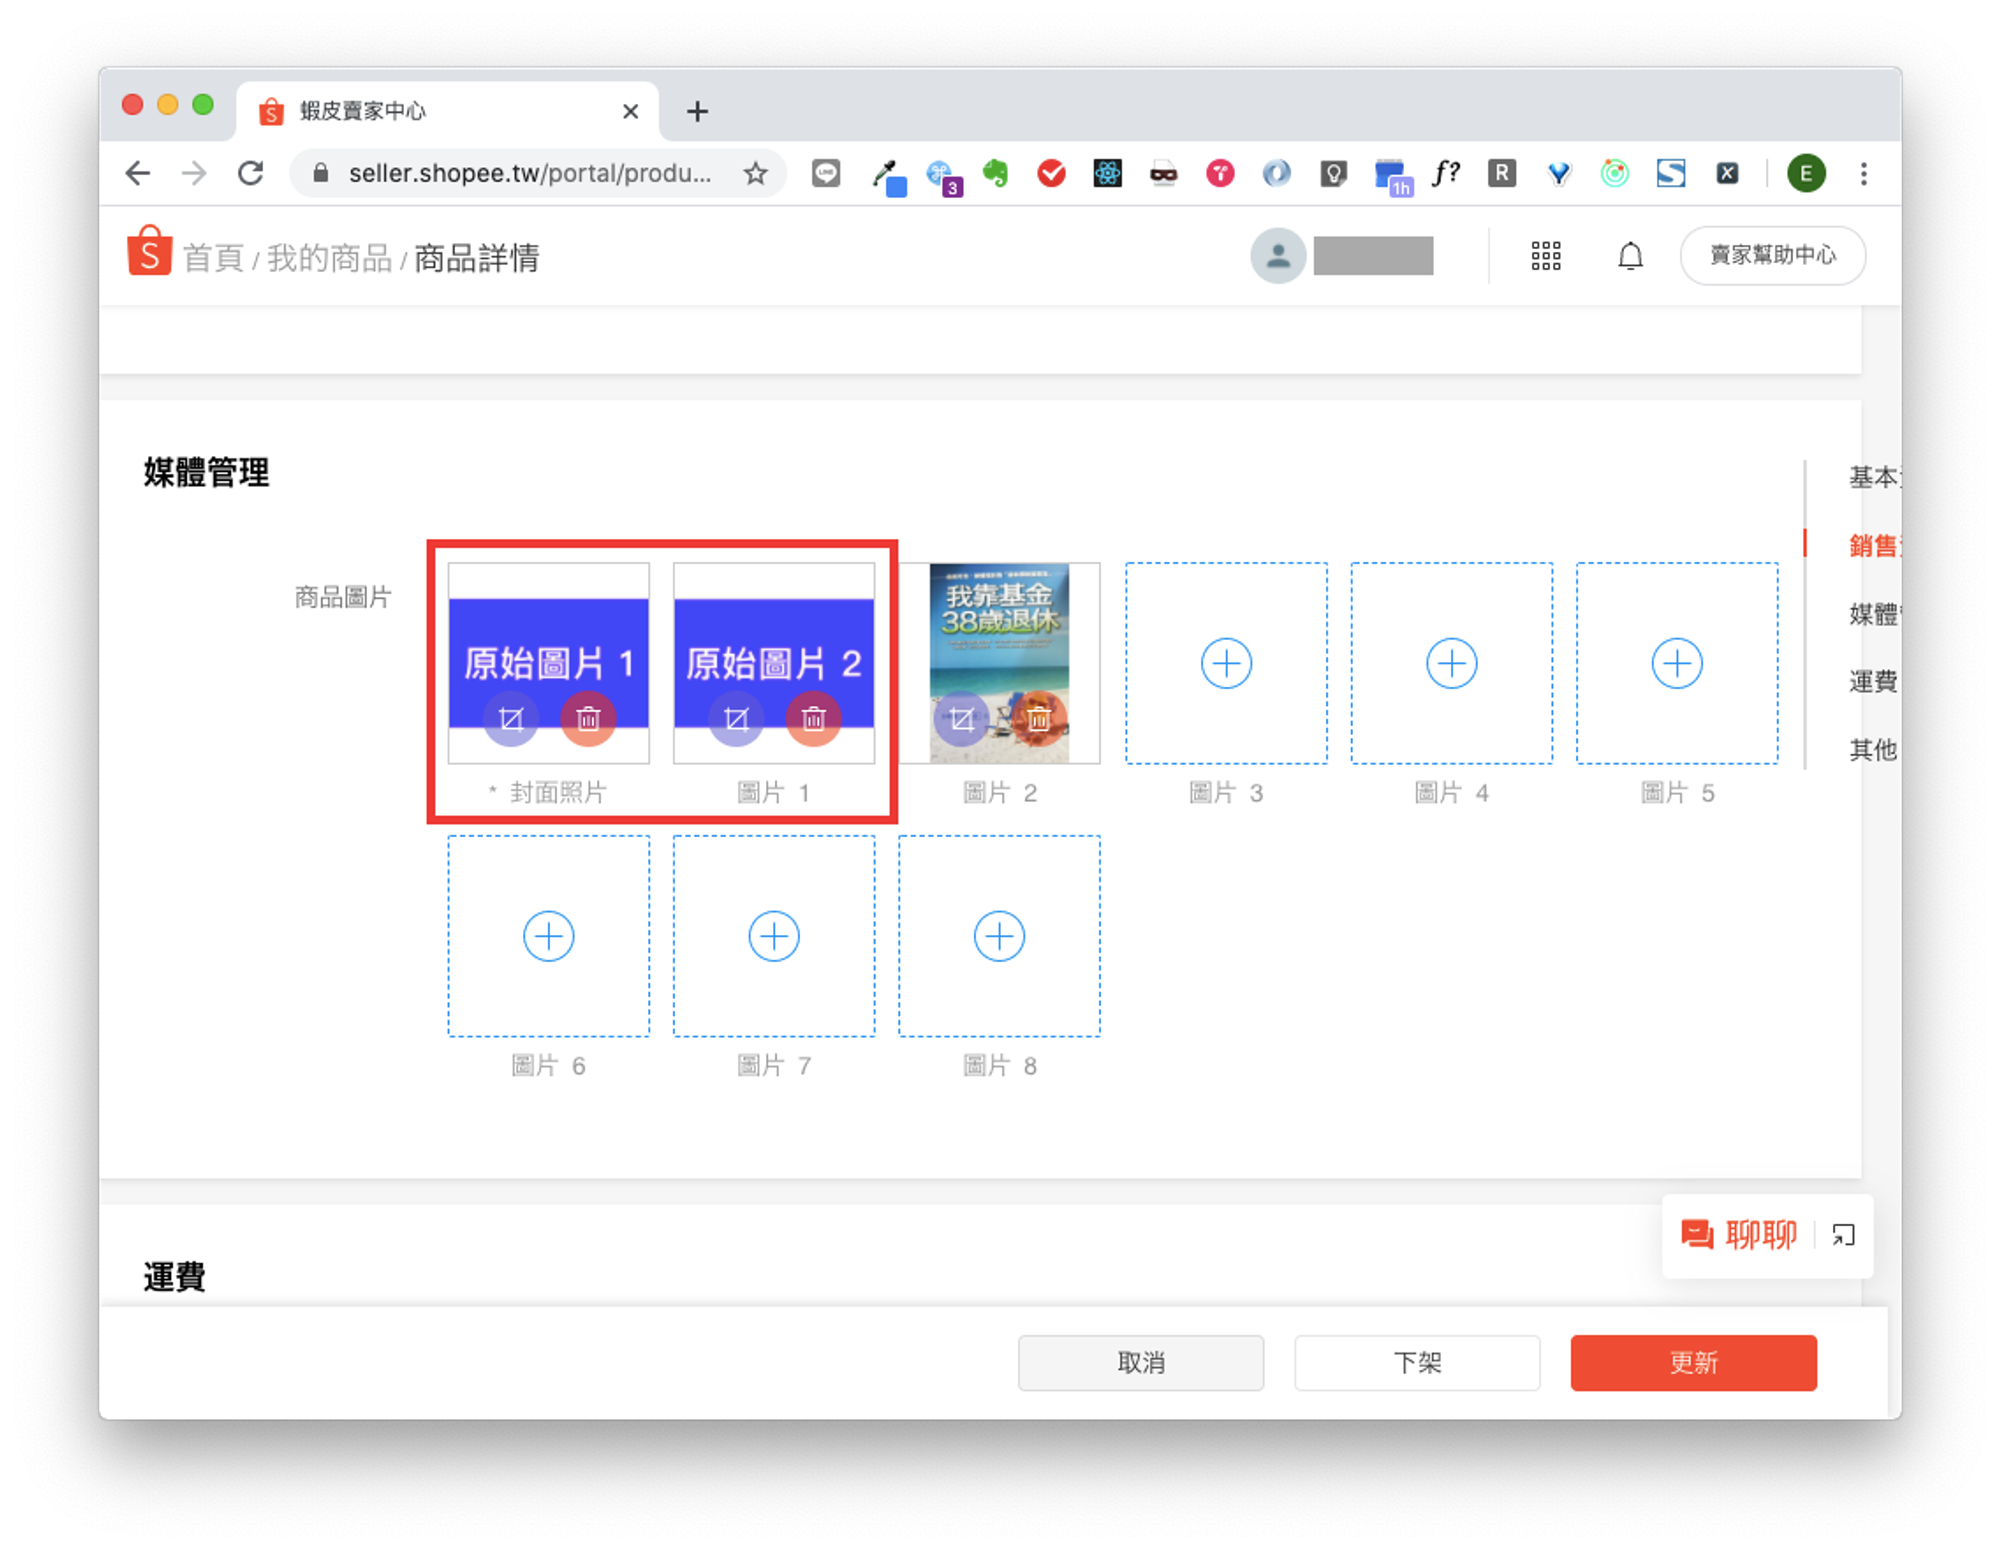
- 這裡示範的待更新圖片為第一張圖(原始圖片 1)與第二張圖(原始圖片 2)。*特別注意:更新圖片務必確認是哪個商品的第幾張圖片要更新,這樣才不會換錯圖片喔。
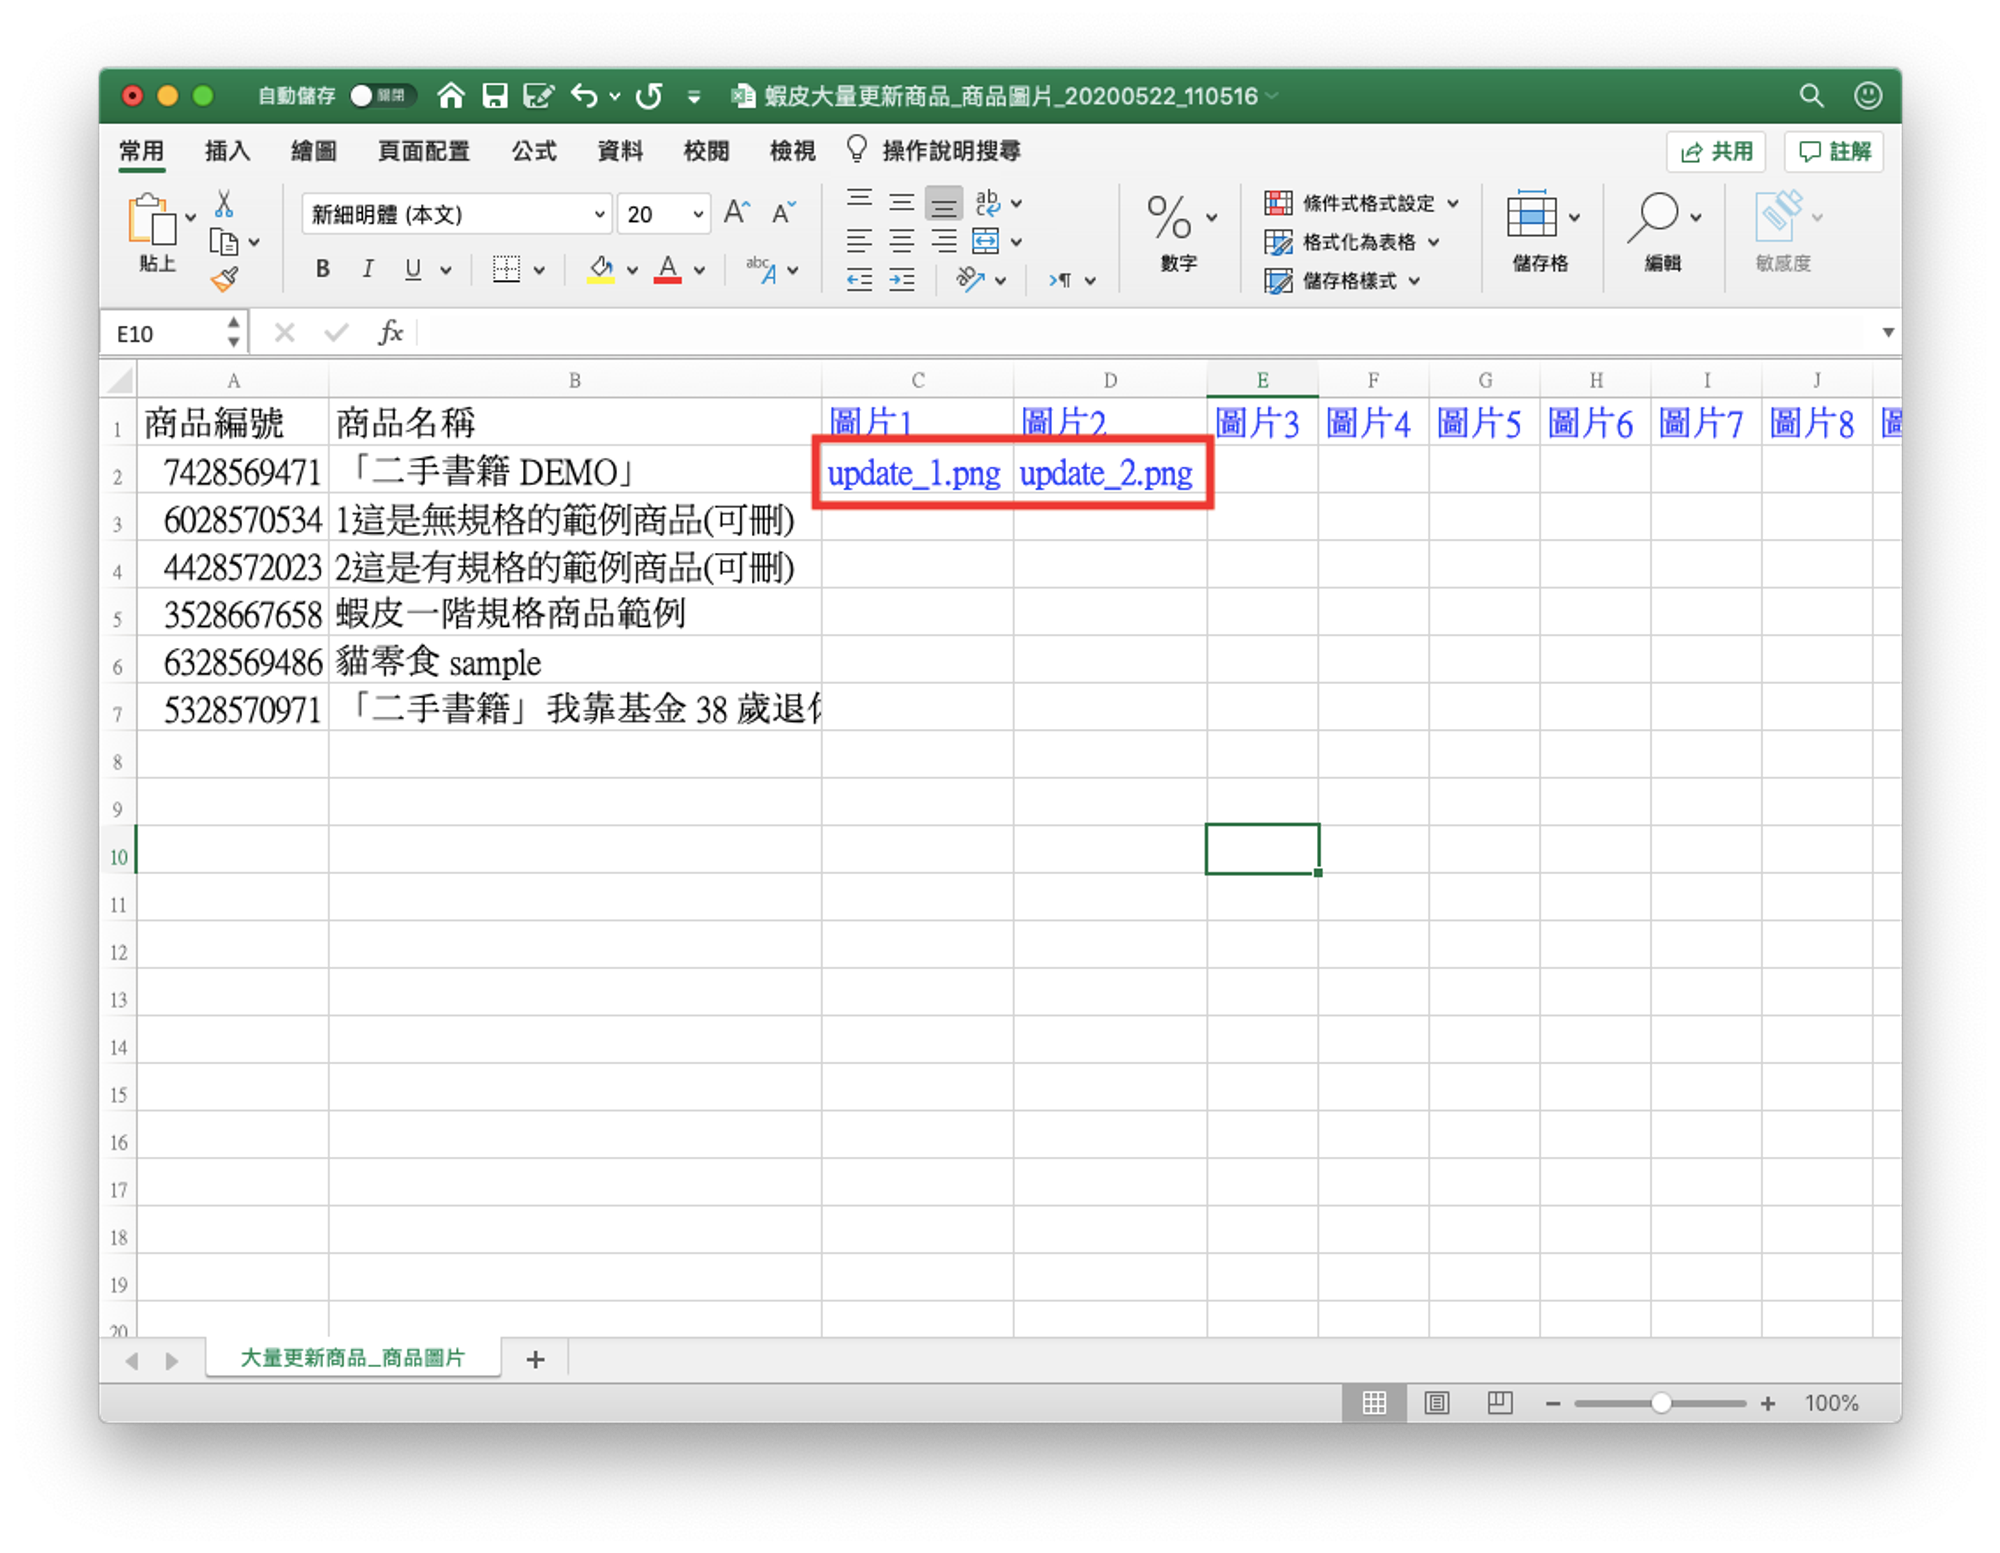
- 確認完待更新商品的原始圖片後,開啟【Excel】或【Google Docs】進行編輯。藍色欄位為可修改之資料。 請針對想要修改的資料,於【Excel】進行修改。這裡需在對的位置輸入完整的圖片檔名與類型(參考圖片資料夾內個別圖片的完整檔名)。
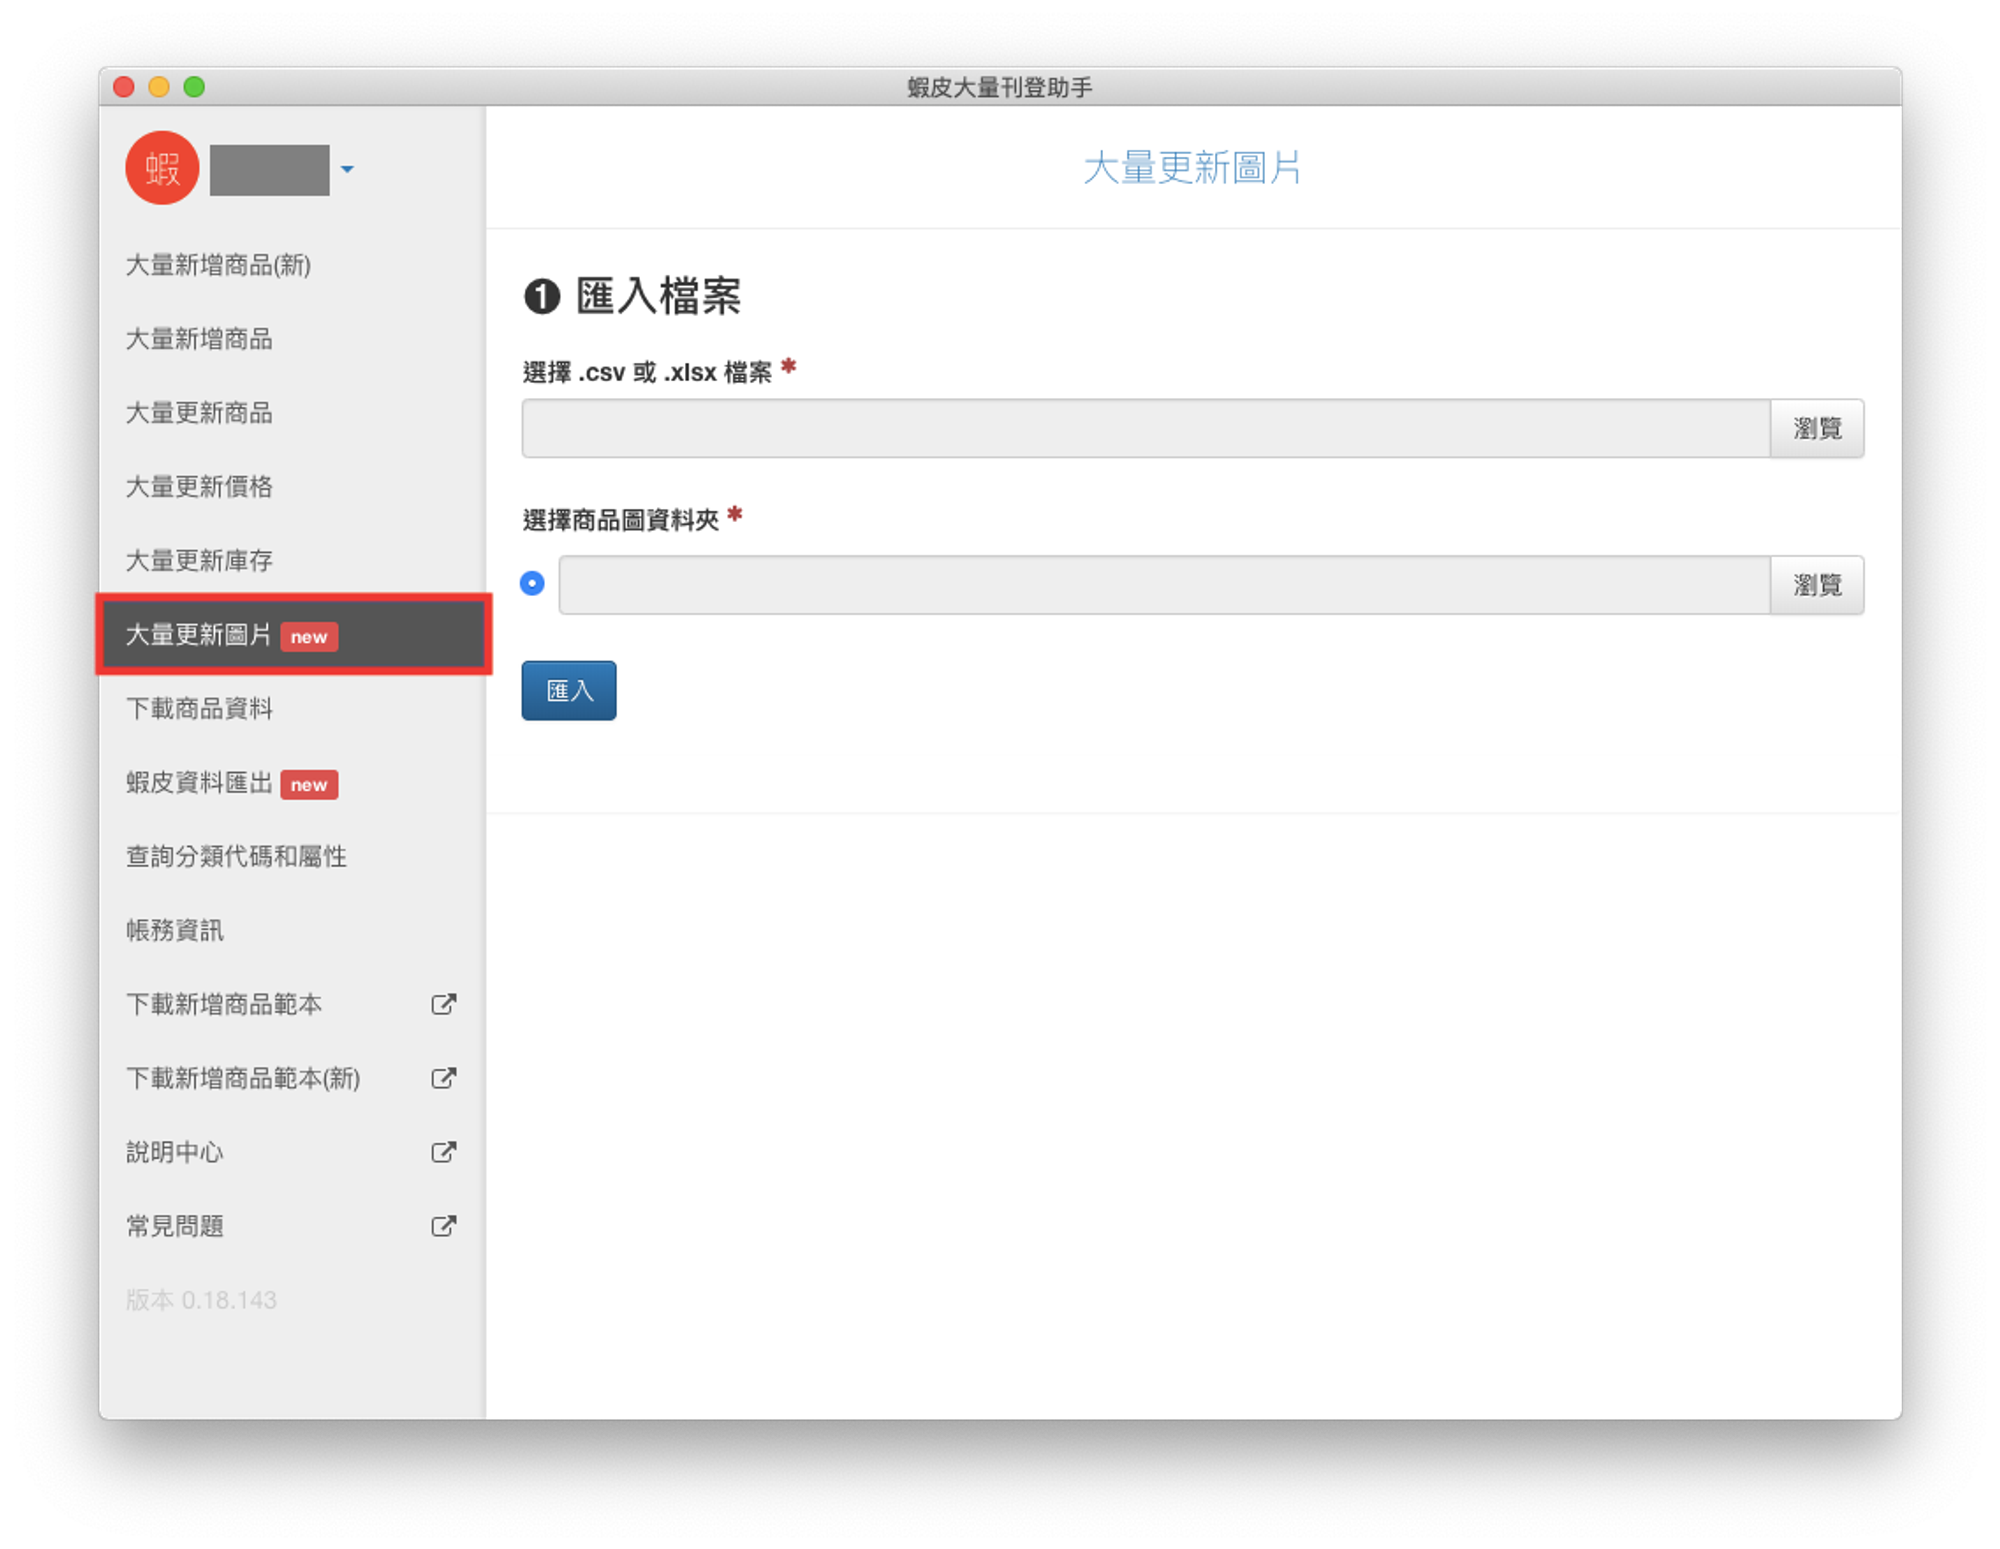
- Excel 修改完畢後於左側導覽點選「大量更新圖片」。
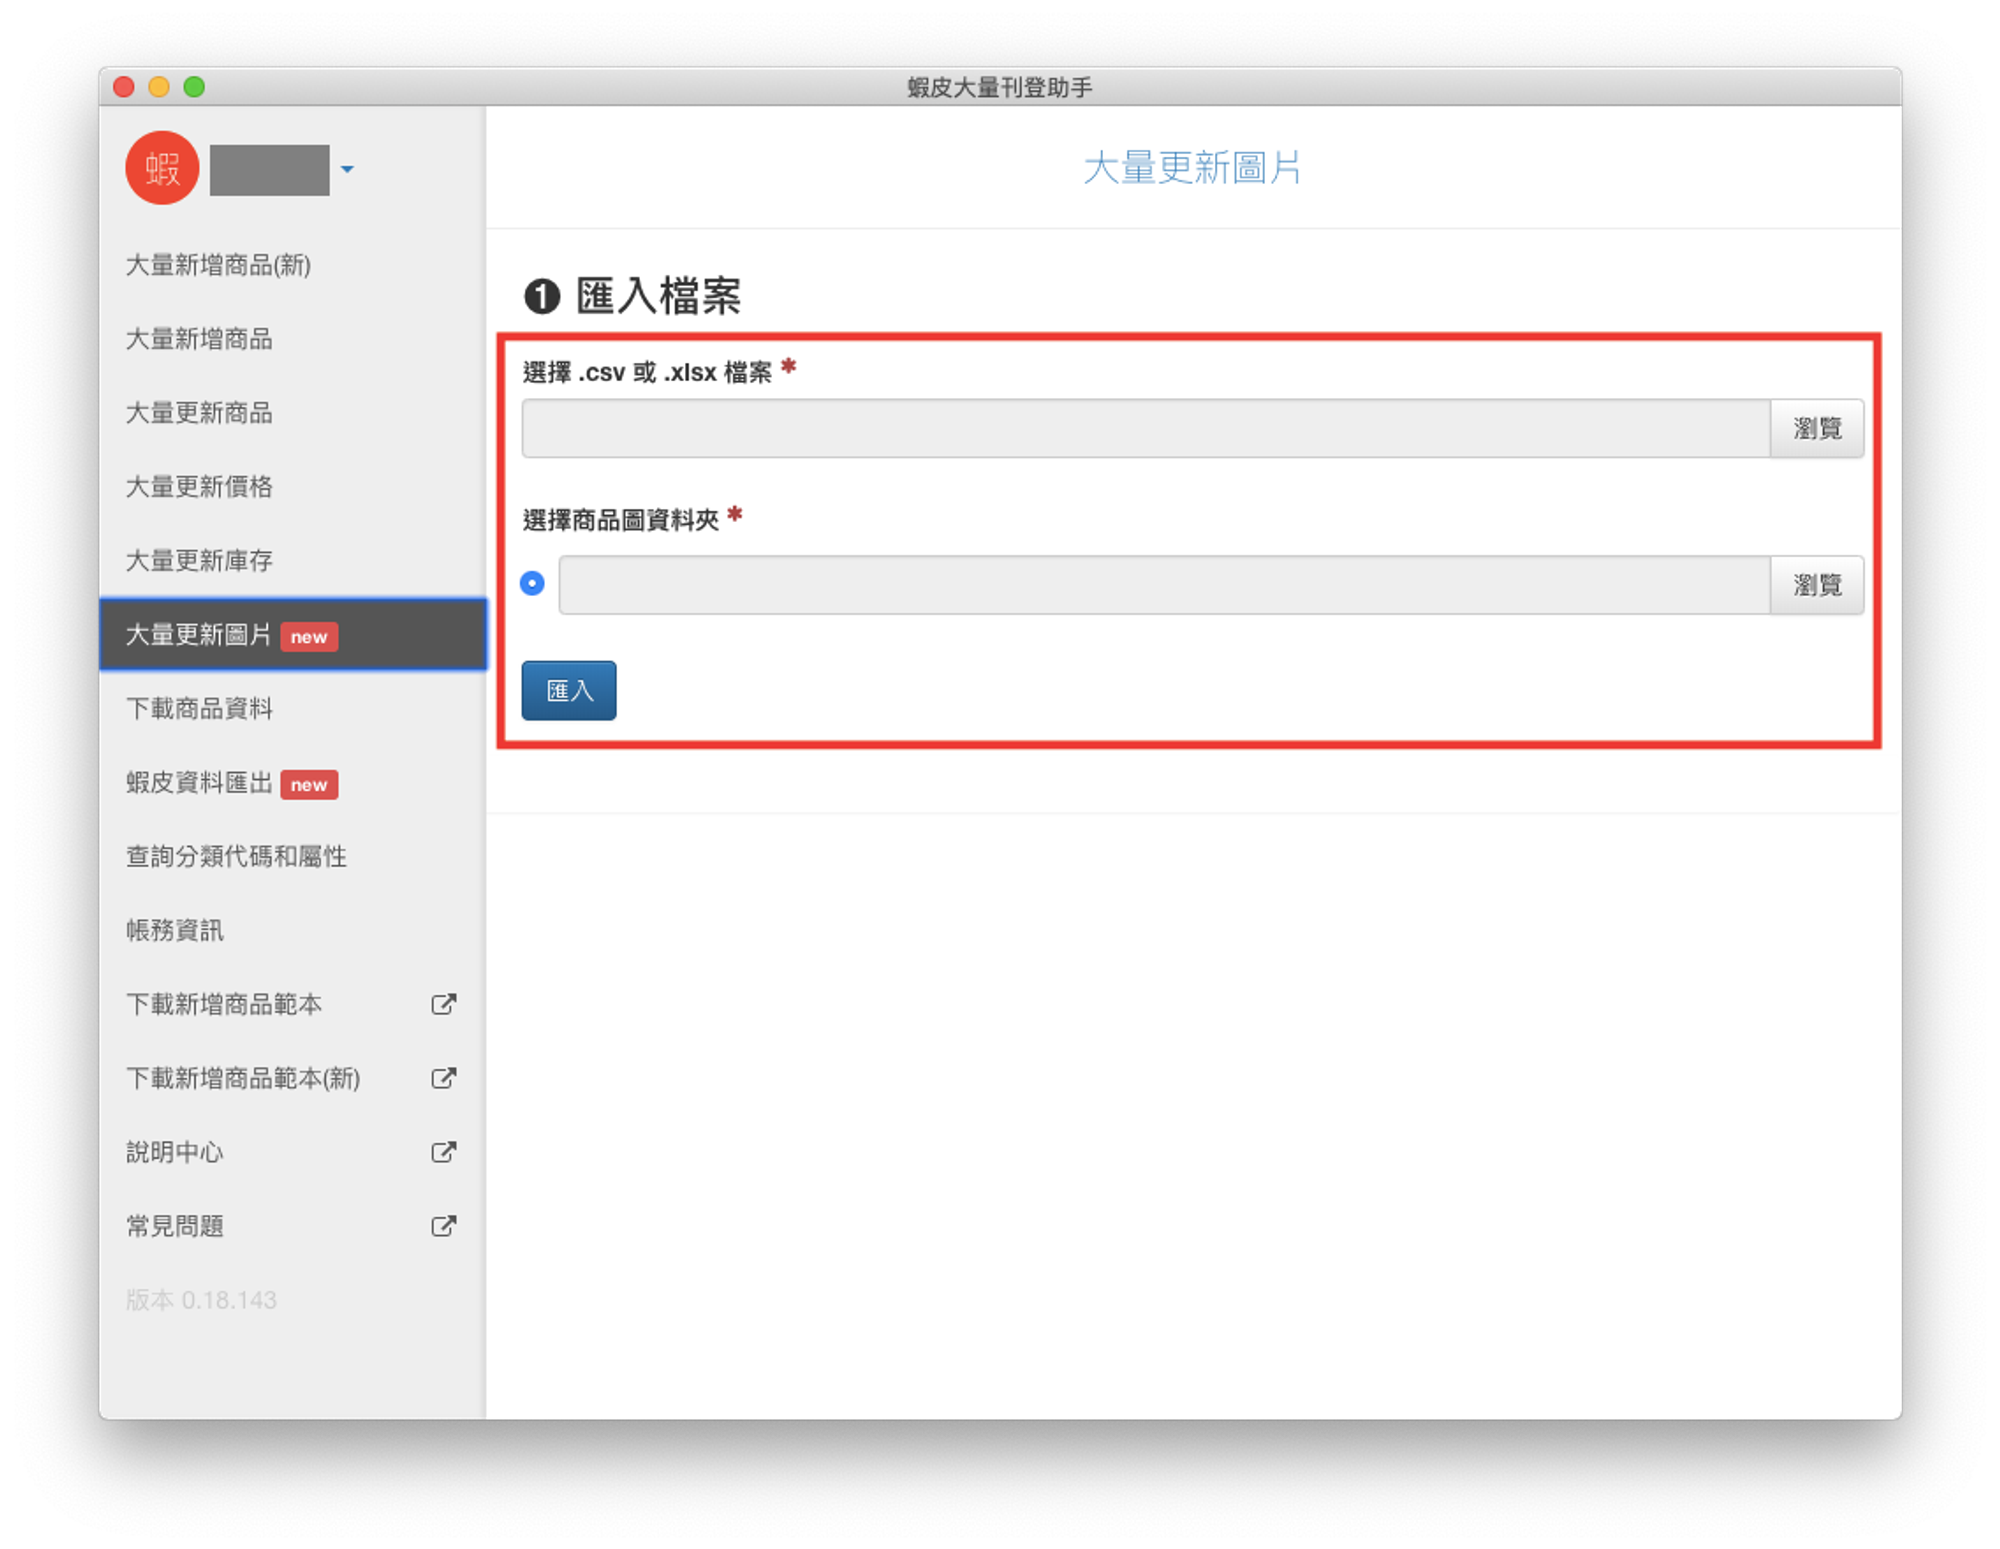
- 匯入剛修改完成的 Excel 檔案與圖片資料夾。
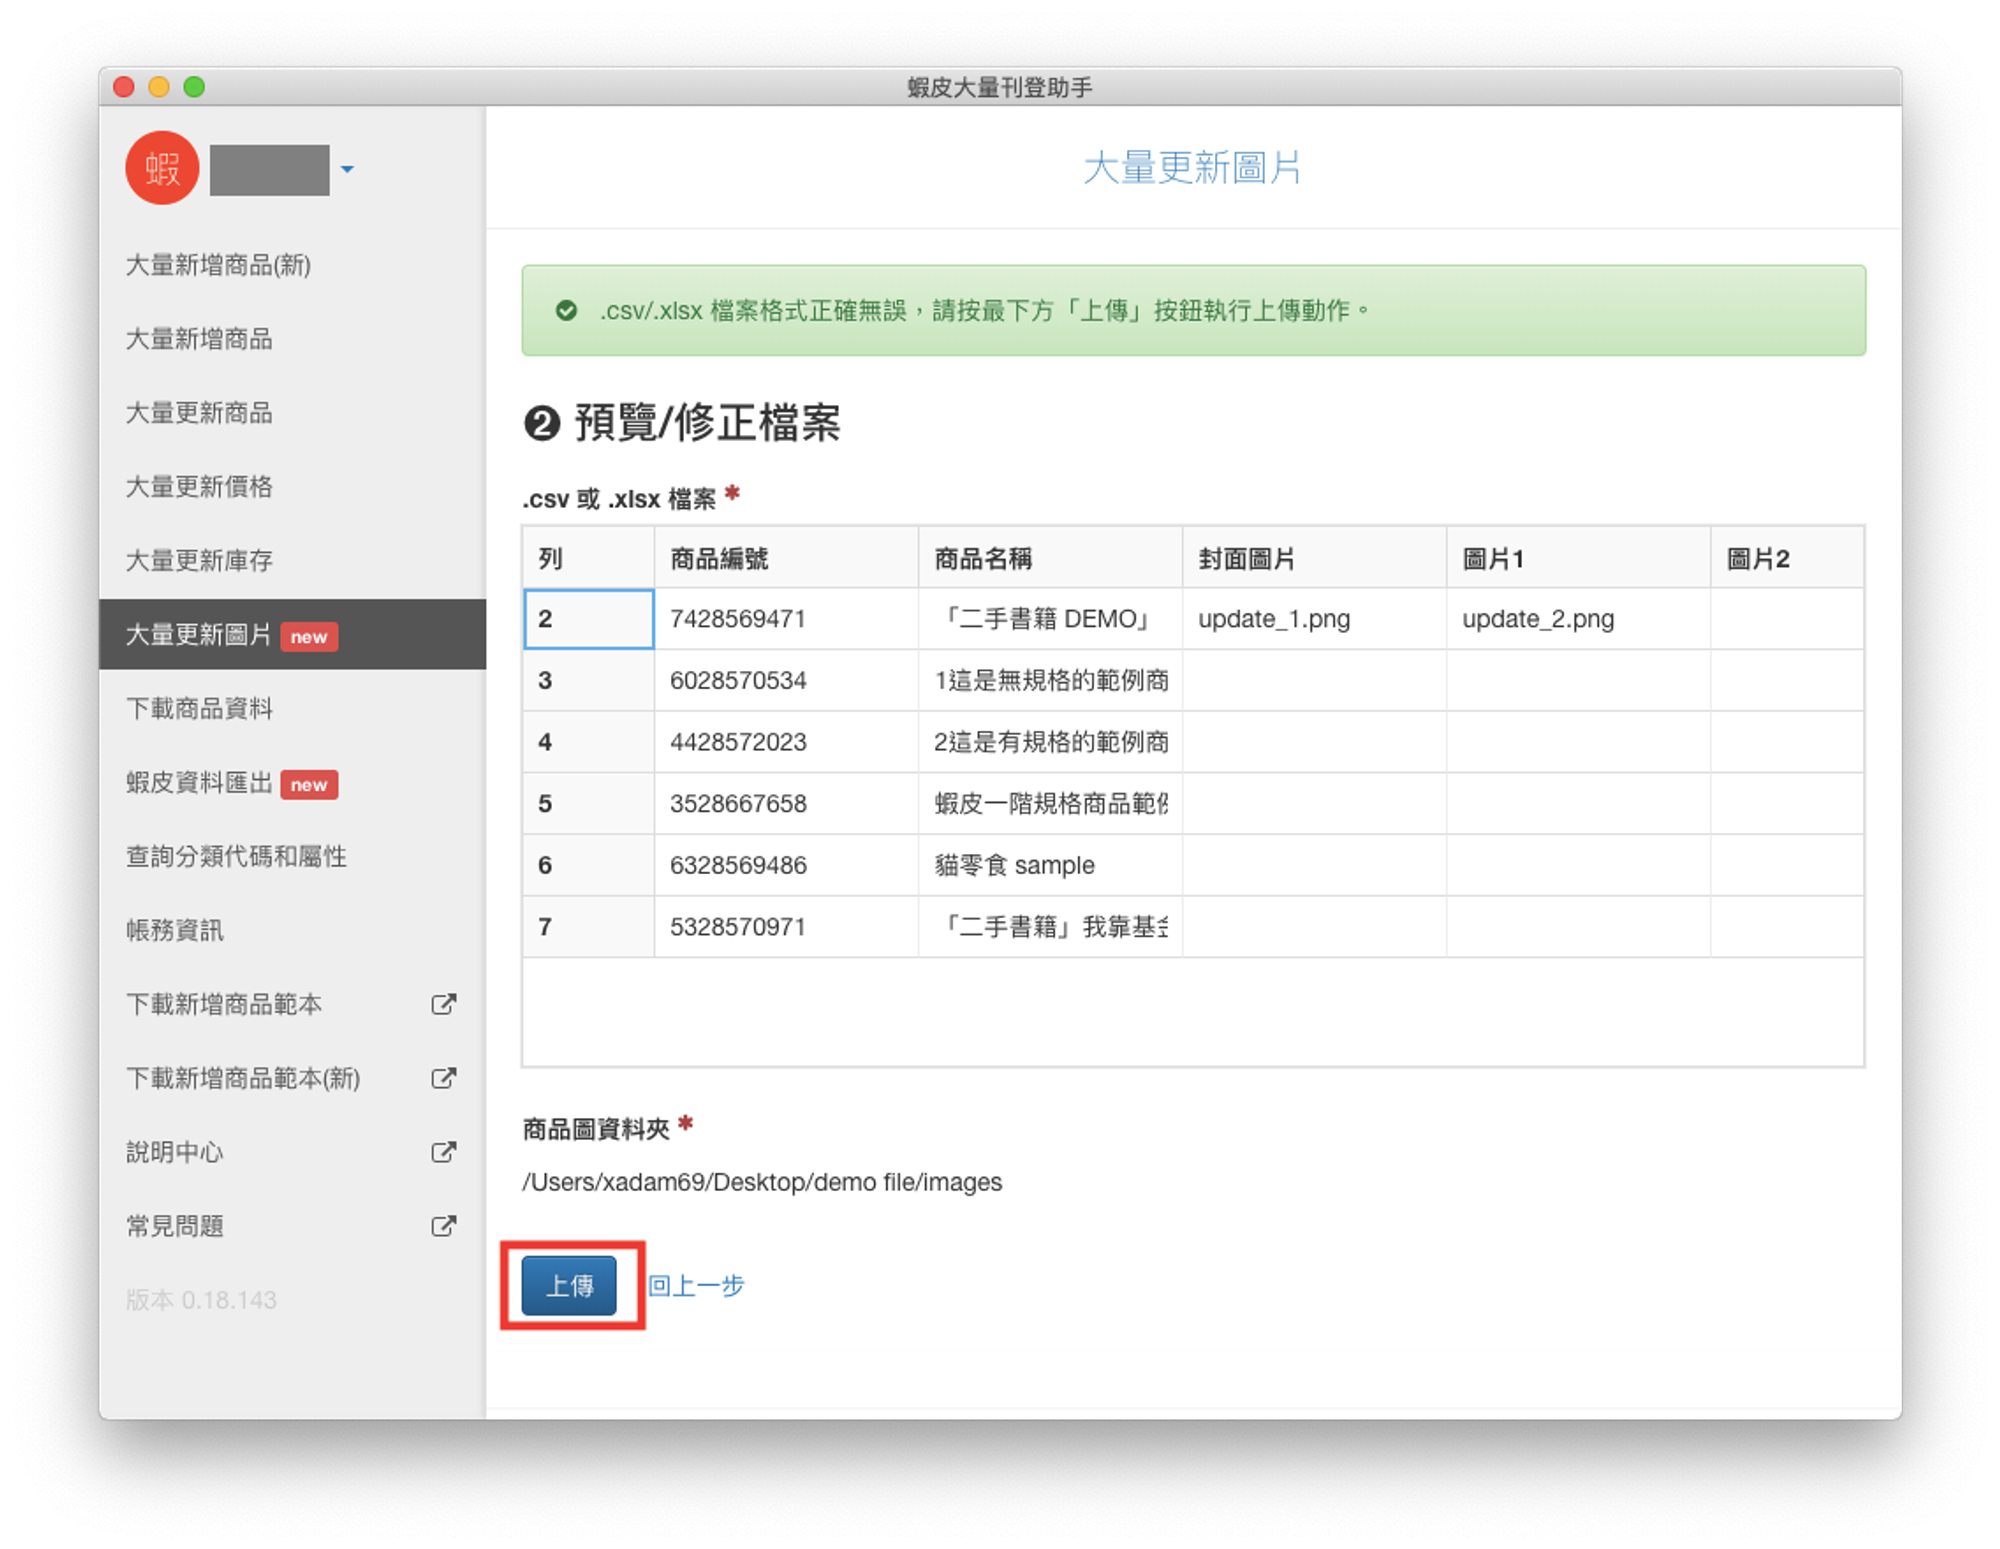
- 確認商品與圖片名稱、位置皆正確無誤後,點選「上傳」
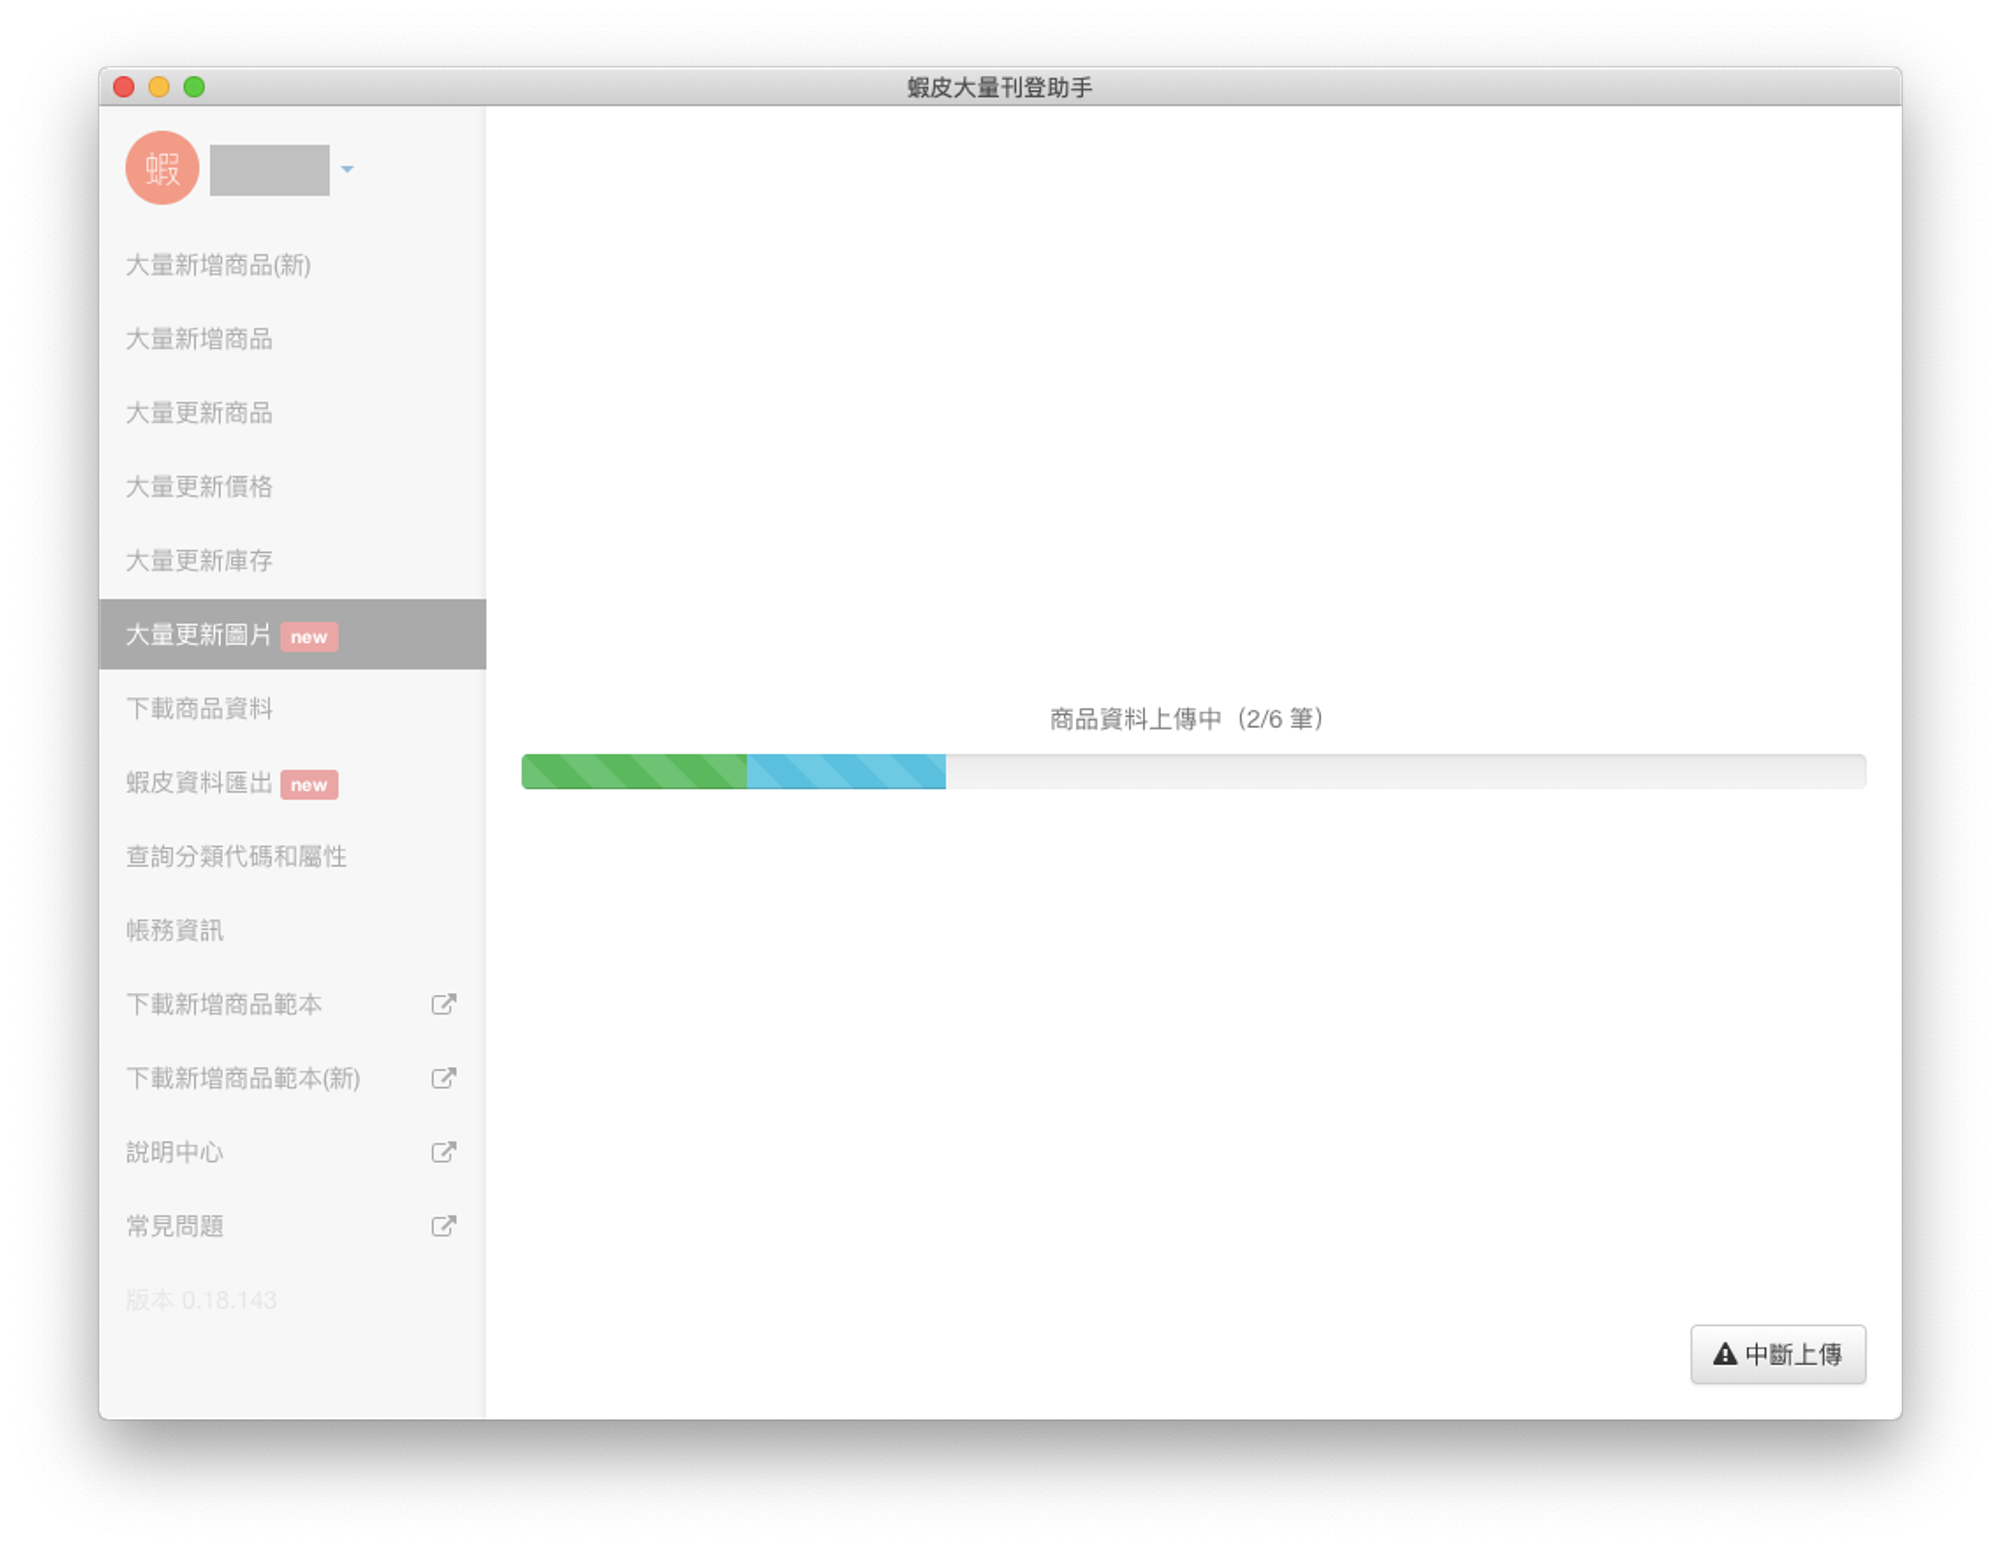
- 等待更新作業完成。(注意:更新進度全數完成前請勿關閉程式!)
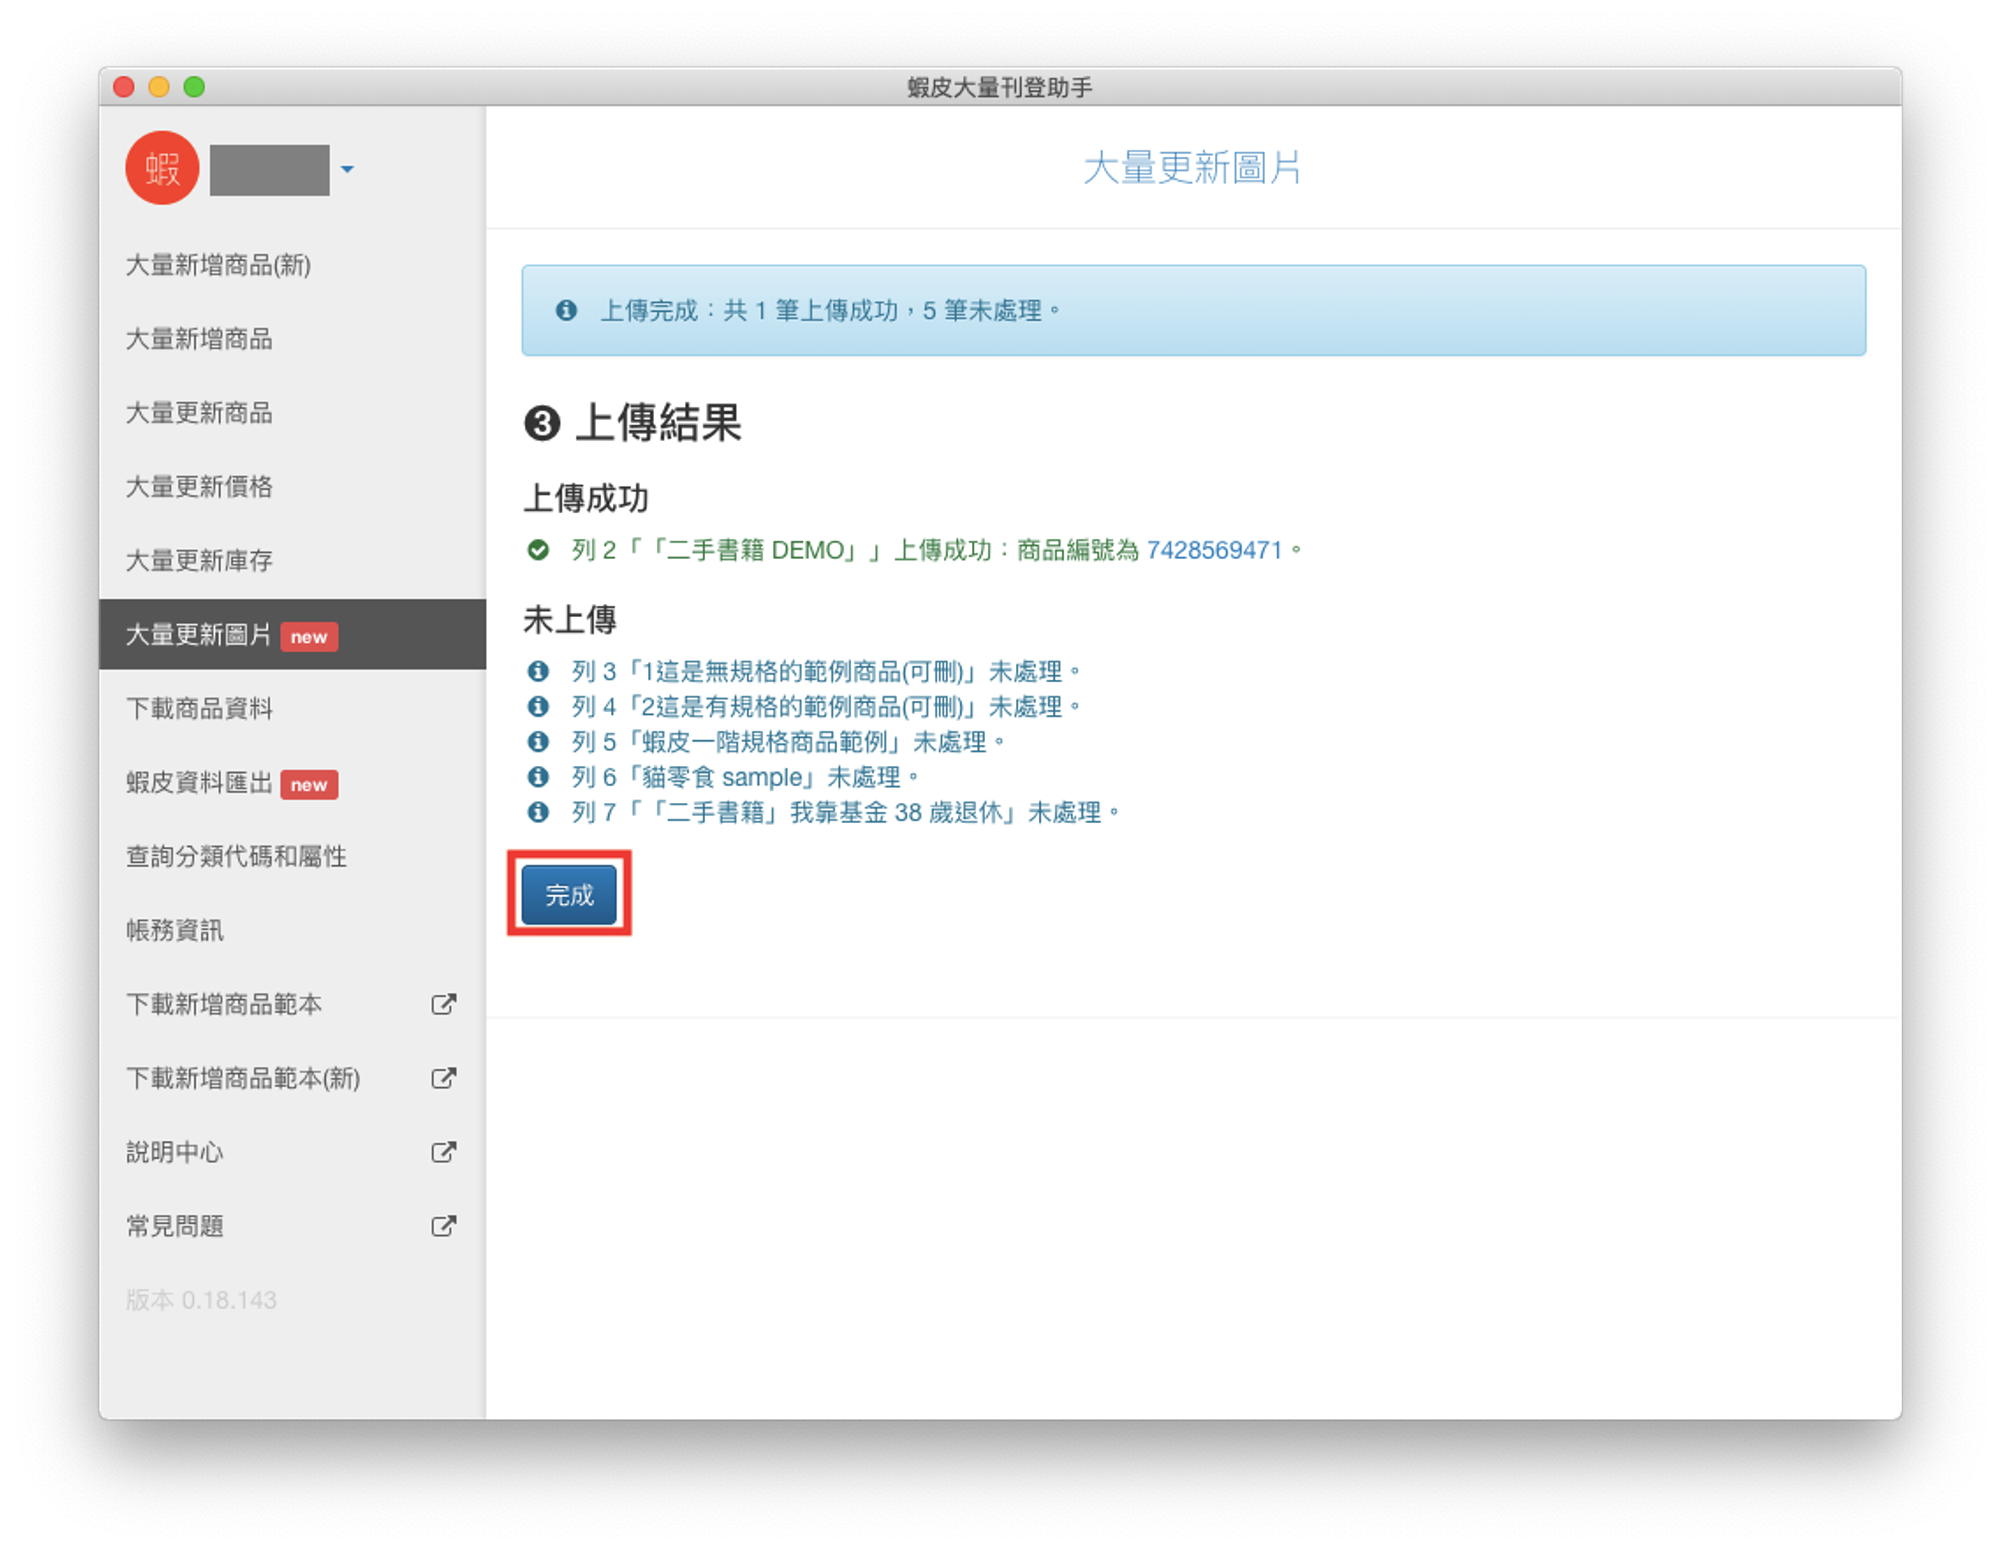
- 更新完成後,點選「完成」結束更新圖片流程。
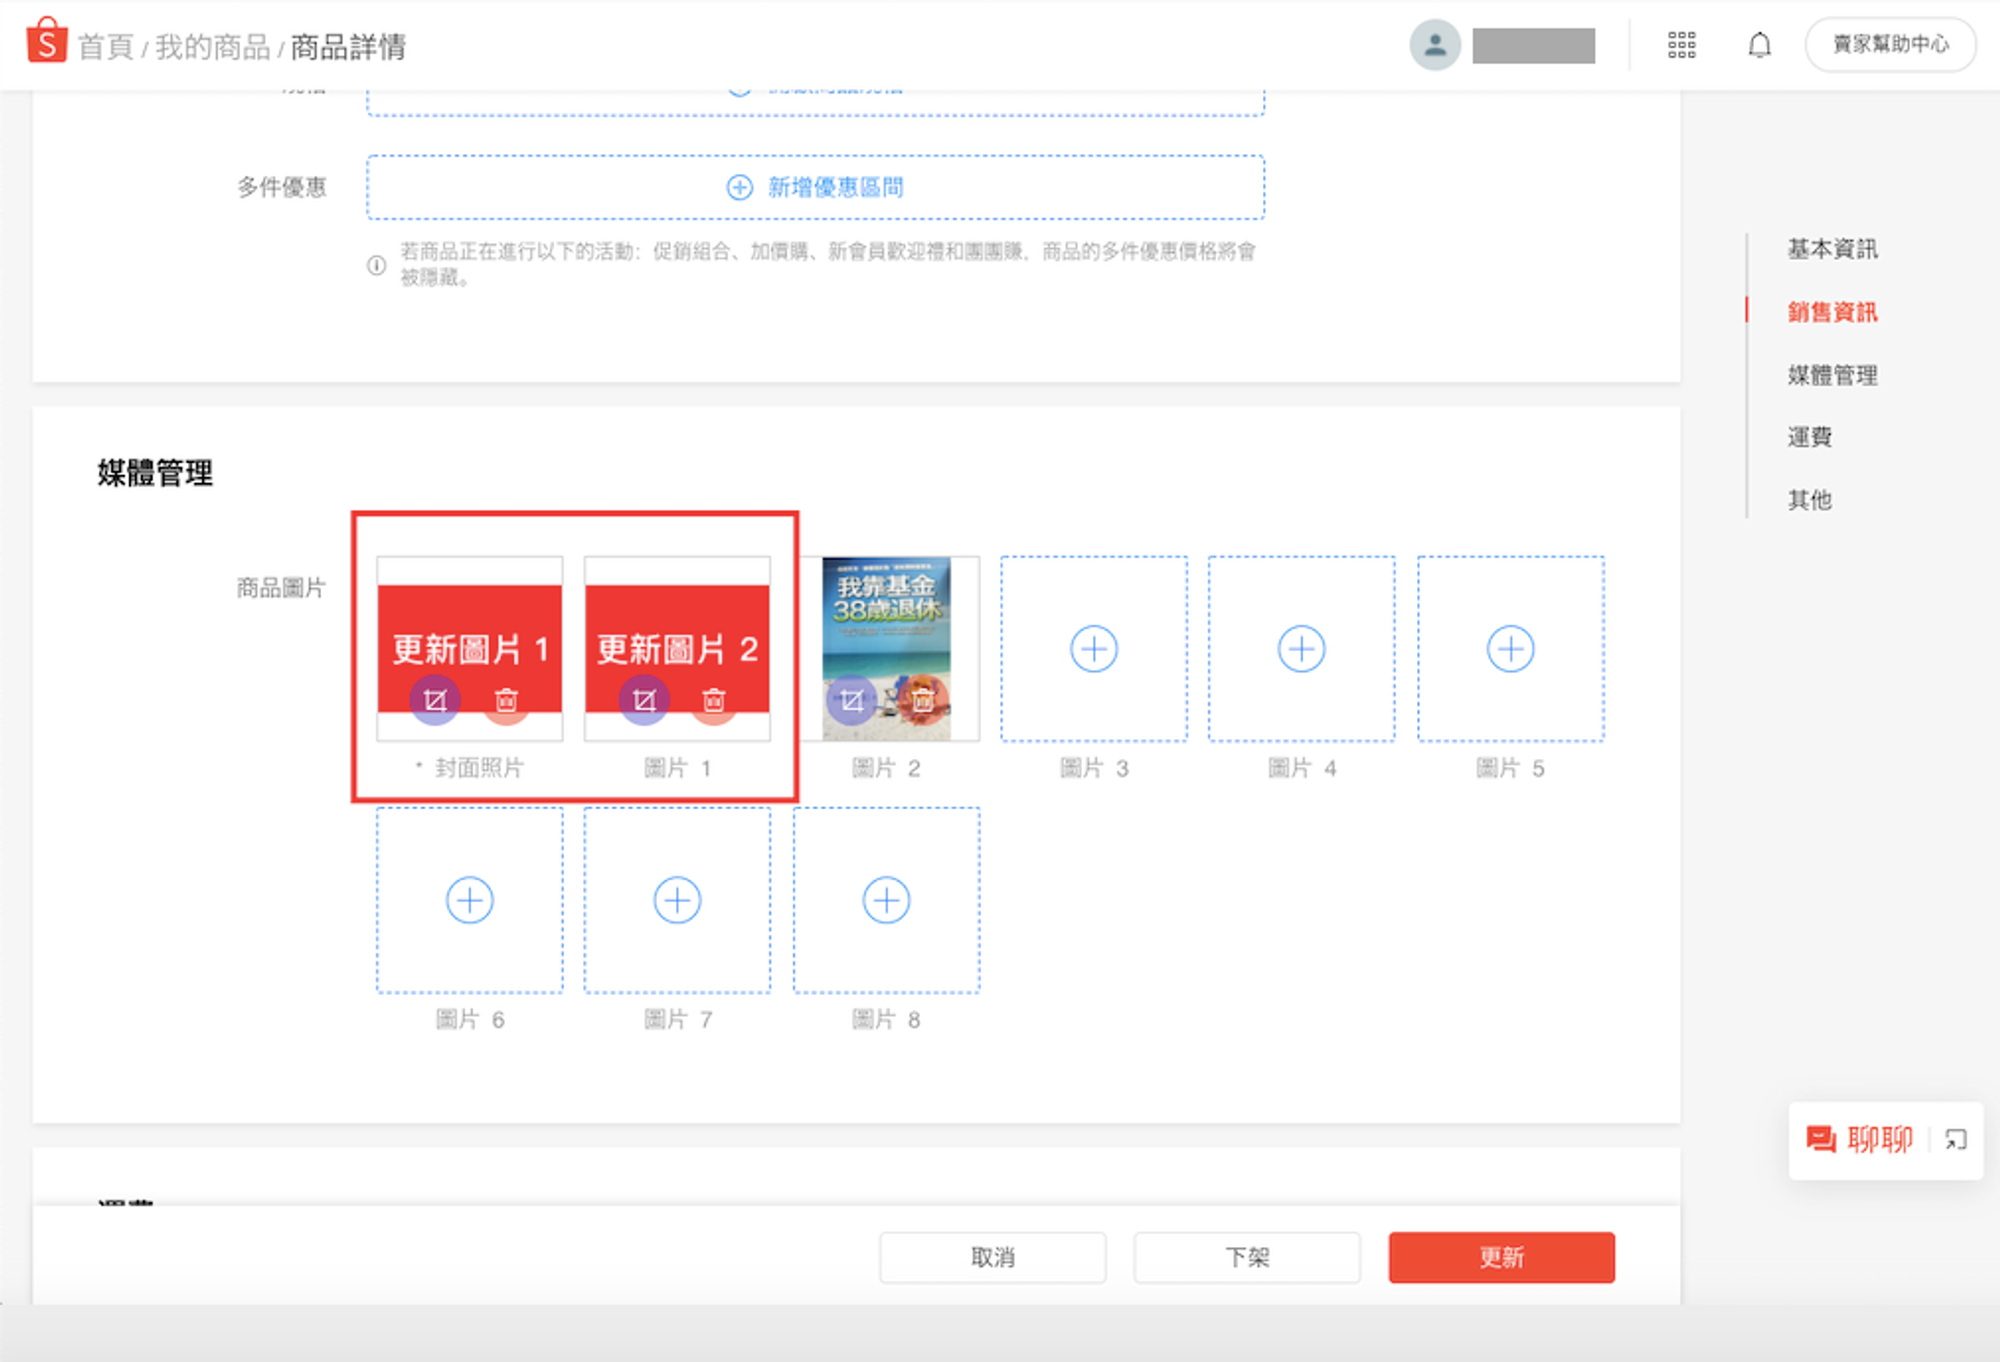
- 更新完成後再到蝦皮「商品詳情頁」確認圖片已成功更新(更新圖片 1、更新圖片 2)